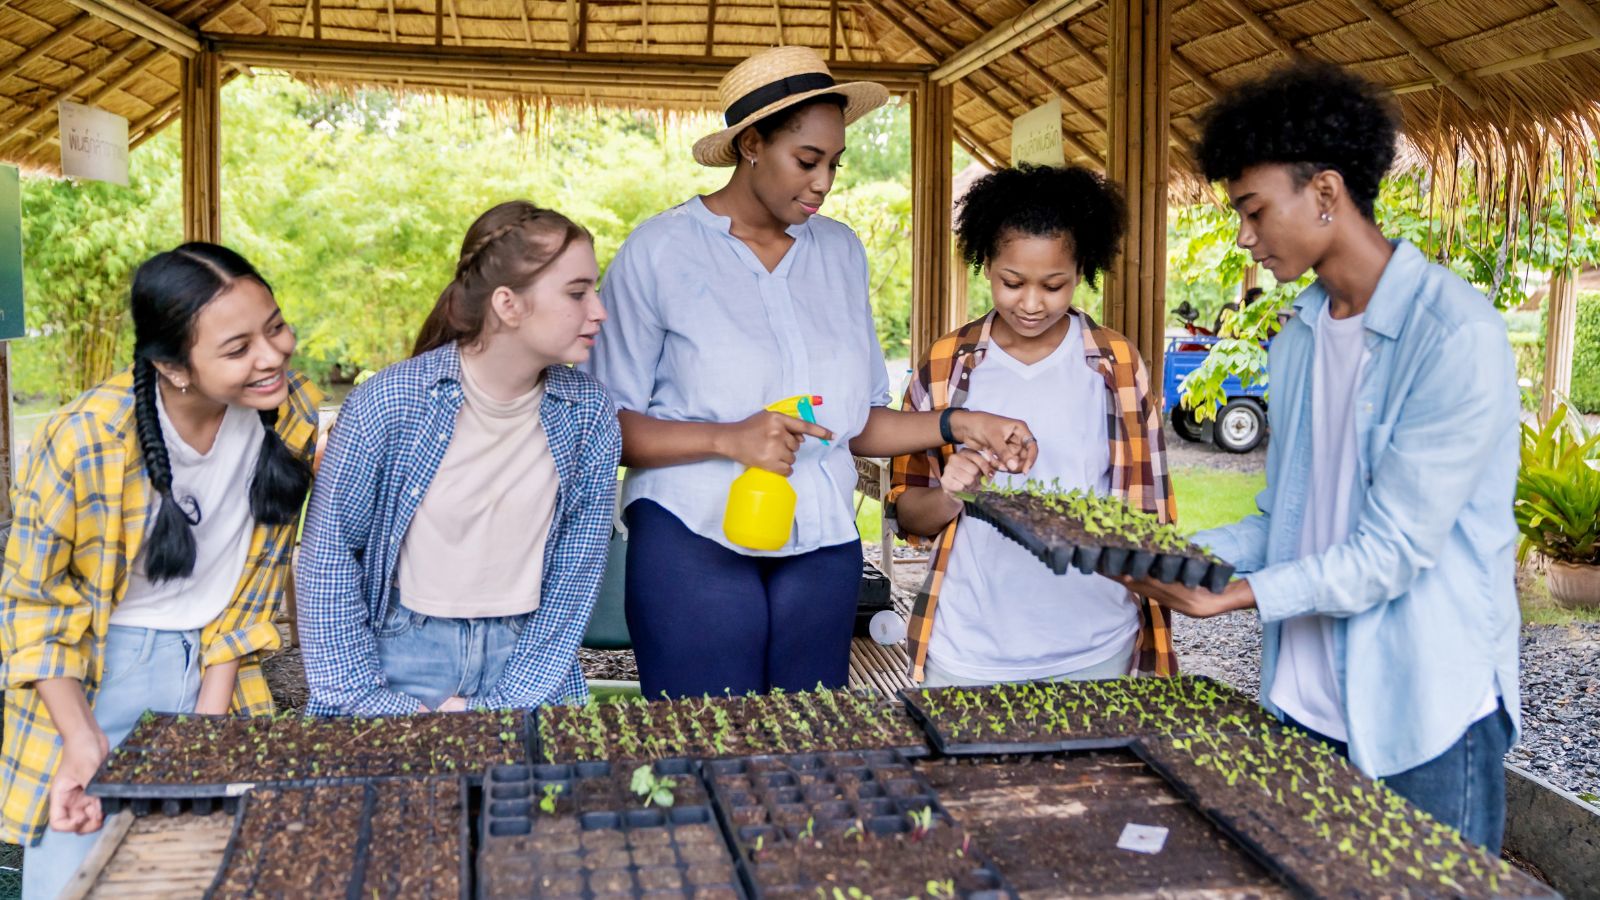
Transplanting seedlings is a crucial step in the gardening process, allowing young plants to establish themselves in their permanent growing locations. Whether you’ve started your seeds indoors or purchased seedlings from a nursery, knowing how to transplant them properly will help ensure their success and give them the best chance to thrive. Here are the best techniques for transplanting seedlings to help you achieve a healthy, productive garden.
When to Transplant Seedlings
Timing is everything when it comes to transplanting seedlings. Transplanting too early or too late can stress the plants and hinder their growth.
Check the Seedling’s Development
Seedlings are ready to be transplanted when they have developed strong roots and at least two to three sets of true leaves. The true leaves are the second set of leaves that appear after the initial seed leaves (cotyledons). At this stage, the seedlings are robust enough to handle the move to a new location.
Consider the Weather
For most plants, it’s best to transplant seedlings on a cool, cloudy day or in the late afternoon. This reduces transplant shock by preventing the seedlings from being exposed to the intense midday sun, which can cause wilting and dehydration. Additionally, make sure the threat of frost has passed, and the soil has warmed up enough to support healthy growth.
Prepare the Planting Site
Before you transplant your seedlings, it’s important to prepare the planting site so the seedlings can settle in and grow quickly.
Choose the Right Location
Select a location that matches the sunlight and soil requirements of your seedlings. Most vegetables and flowers prefer full sun, while some herbs and shade-loving plants may need partial shade. Ensure the site receives the appropriate amount of sunlight for the type of plants you’re transplanting.
Prepare the Soil
Prepare the soil by loosening it to a depth of 12 to 15 inches, which will allow the seedlings’ roots to penetrate easily. Work in organic matter, such as compost or well-rotted manure, to improve soil fertility and drainage. Remove any weeds, rocks, or debris from the area to create a clean, healthy environment for your seedlings.
Water the Soil
Before transplanting, water the planting site thoroughly. Moist soil helps reduce transplant shock and provides the seedlings with the moisture they need to establish quickly. However, avoid waterlogging the soil, as overly wet conditions can lead to root rot.
Transplanting Seedlings: Step-by-Step
Once your seedlings and planting site are ready, follow these steps to transplant your seedlings successfully.
1. Harden Off the Seedlings
If you’ve started your seedlings indoors, it’s important to harden them off before transplanting. Hardening off is the process of gradually acclimating seedlings to outdoor conditions. Start by placing the seedlings outside in a sheltered, shady spot for a few hours each day, gradually increasing their exposure to sunlight and outdoor temperatures over the course of 7 to 10 days. This helps the seedlings adjust to the wind, sunlight, and fluctuating temperatures they’ll experience in the garden.
2. Prepare the Seedlings for Transplanting
Water the seedlings in their containers a few hours before transplanting. This ensures they are well-hydrated and makes it easier to remove them from their containers without damaging the roots. Handle the seedlings by their leaves, not their delicate stems, to avoid crushing or damaging the plants.
3. Dig the Planting Holes
Use a trowel to dig planting holes that are slightly larger and deeper than the root ball of each seedling. Space the holes according to the recommended spacing for the specific plant type, allowing enough room for the plants to grow and spread. For deep-rooted plants, such as tomatoes, you can dig a deeper hole and bury part of the stem to encourage additional root growth.
4. Transplant the Seedlings
Gently remove each seedling from its container, taking care to disturb the roots as little as possible. If the seedlings are in biodegradable pots, you can plant them directly in the soil. Place the seedling in the hole, ensuring that the root ball is at the same depth as it was in the container. Fill the hole with soil, gently firming it around the roots to eliminate air pockets.
5. Water Thoroughly
After transplanting, water the seedlings thoroughly to help them settle into their new environment. This also helps eliminate any air pockets around the roots and provides the seedlings with the moisture they need to establish. Be careful not to overwater, as soggy soil can lead to root rot.
Post-Transplant Care
Proper care after transplanting is essential to help your seedlings recover from the move and grow strong and healthy.
Mulch the Soil
Applying a layer of mulch around your seedlings helps retain soil moisture, regulate soil temperature, and suppress weeds. Organic mulches, such as straw, compost, or shredded leaves, are ideal because they also improve soil structure as they break down. Be sure to keep the mulch a few inches away from the seedlings’ stems to prevent rot.
Protect the Seedlings
Young seedlings are vulnerable to pests and harsh weather conditions. Consider using row covers, cloches, or protective nets to shield them from pests like birds, slugs, and insects. If you expect a late frost, cover the seedlings overnight with a frost cloth or old sheets to protect them from the cold.
Monitor Watering
Keep the soil consistently moist, but not waterlogged, for the first few weeks after transplanting. Deep, regular watering encourages strong root development. As the seedlings grow, you can reduce the frequency of watering, allowing the top inch of soil to dry out between waterings.
Fertilize Sparingly
After transplanting, your seedlings may benefit from a light application of a balanced, organic fertilizer to support their growth. However, avoid over-fertilizing, as this can lead to excessive foliage growth at the expense of fruit and flower production. A diluted liquid fertilizer or compost tea applied a few weeks after transplanting can provide the nutrients your seedlings need to thrive.
Signs of Successful Transplanting
Within a few weeks, your seedlings should begin to show signs of new growth, which indicates that they have successfully adapted to their new environment. Look for healthy, vibrant leaves, and strong stems, and watch as your plants start to spread out and establish themselves in the garden. By following these techniques, you’ll set your seedlings up for success and enjoy a productive and beautiful garden throughout the growing season.
Transplanting seedlings can be a delicate process, but with careful attention to timing, preparation, and post-transplant care, you can help your young plants thrive in their new home. Whether you’re growing vegetables, herbs, or flowers, these techniques will ensure that your seedlings grow strong and healthy, ready to produce a bountiful harvest or beautiful blooms.