When it comes to growing vegetables, you won’t get much more simple, low-maintenance, and versatile than potatoes, one of America’s favorite vegetables! They don’t require fancy tools or expertise, and in return, you get loads of tasty spuds right from your backyard to mash, bake, fry…the list goes on! All you’ll need is a bit of planning and a dash of patience, and you’ll be on your way, so here’s a step-by-step guide to potato-growing that’s perfect for seasoned gardeners and curious first-timers alike.
Choosing the Right Potato Variety
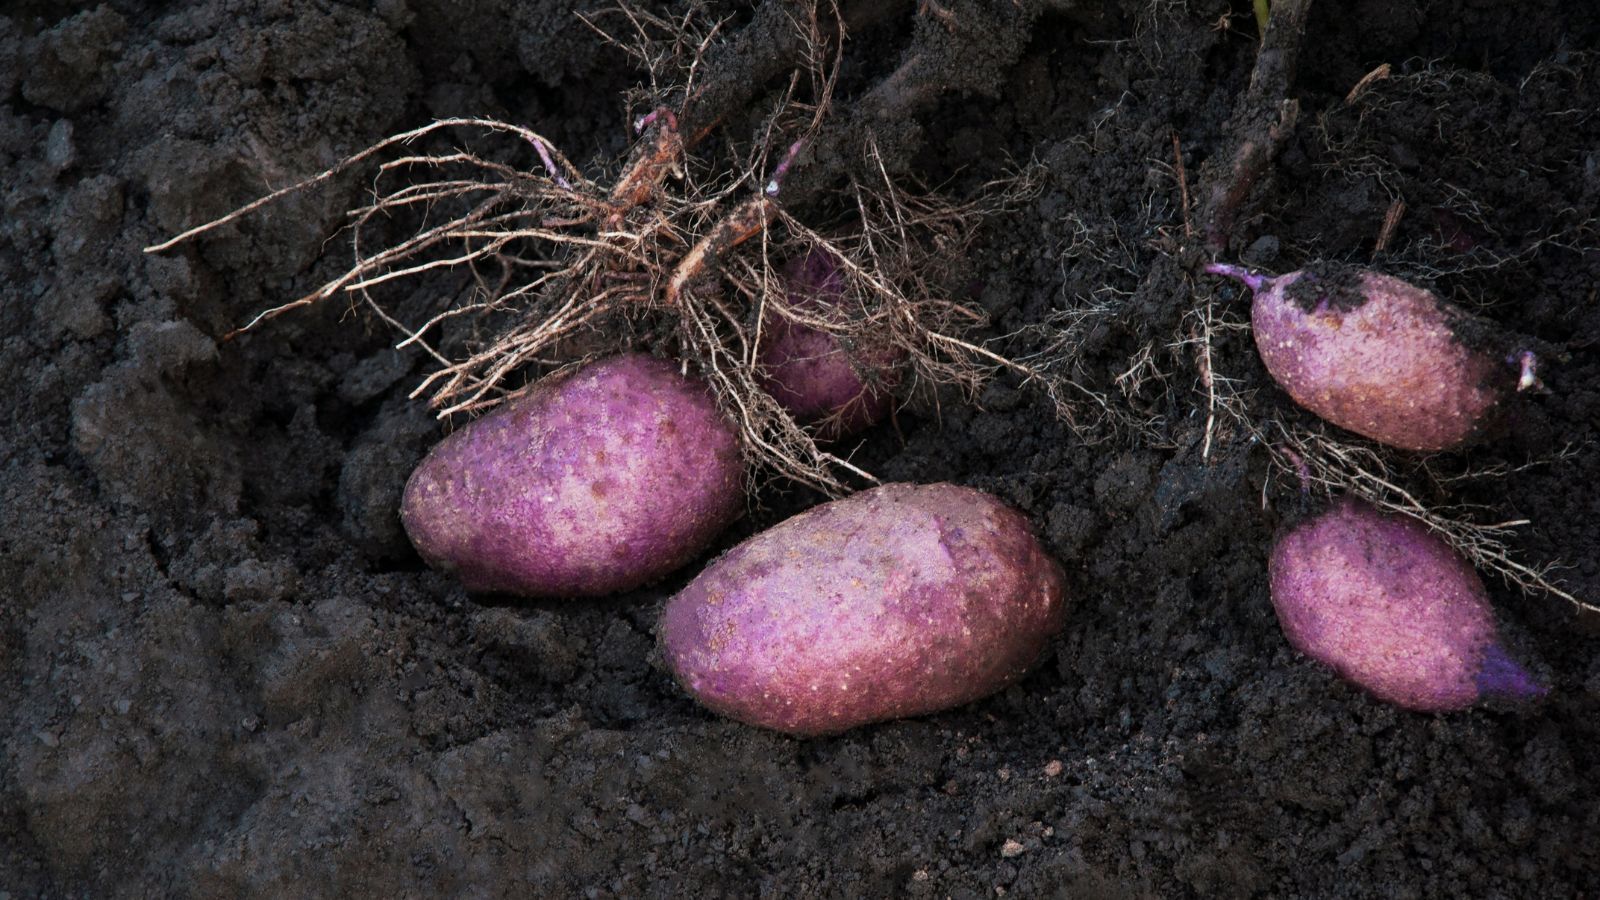
Before you start preparing your garden for potato growing, you’ll first need to find the right potato variety for your preferences. Some types are great for roasting, while others are more for mashing. Furthermore, fingerlings, russets, or Yukon Golds offer different flavors and textures, and there are many more out there. So, consider your favorite potato dishes and do some research before choosing a variety that will complement your cooking style.
Picking the Perfect Spot in Your Garden
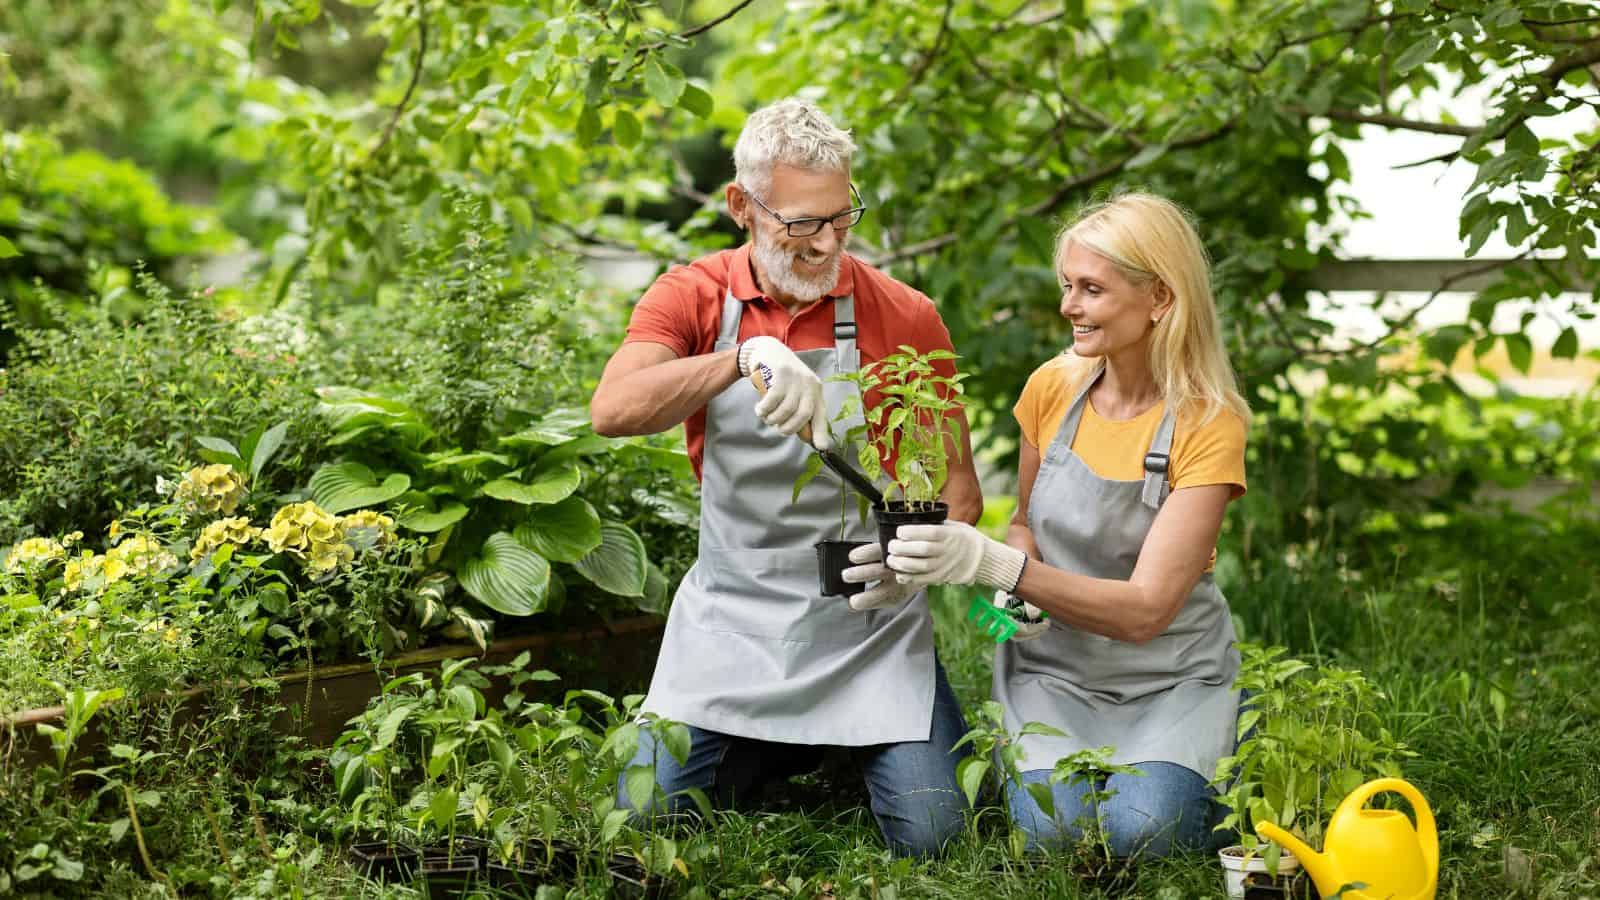
Once you’ve chosen your potato variety, it’s time to choose a spot to plant them. Remember: potatoes thrive in full sun, so look for a sunny patch with good drainage. Shaded areas can lead to smaller, less flavorful potatoes, so you’ll want to avoid them, as well as any spots with nightshades like tomatoes nearby, helping your potatoes to avoid catching pests and diseases.
Preparing the Soil for Potatoes
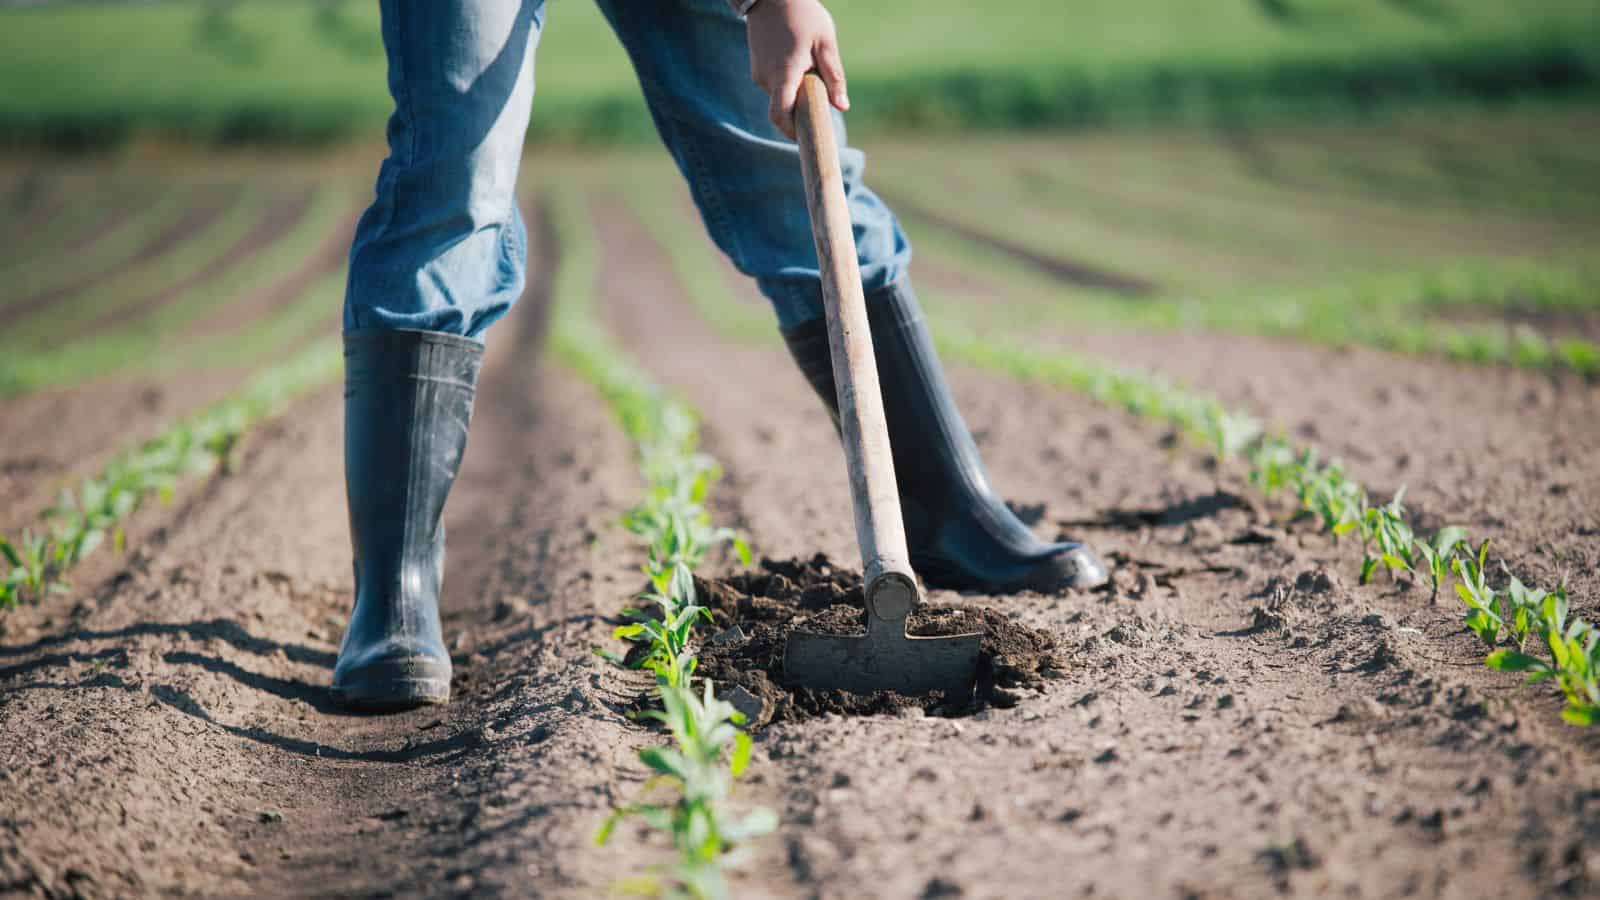
After choosing a spot, make sure you’ve got loamy, well-drained soil prepared with a slightly acidic pH between 5.0 and 6.0. This combination is what potatoes love most; then, add compost or aged manure to boost the soil’s nutrients, giving your plants a strong start. Heavy clay soil may need extra organic matter to loosen it up rather than sand, which can compact. At the end of the day, the fluffier the soil, the easier it will be for your potatoes to grow big and tasty.
Sprouting Your Seed Potatoes
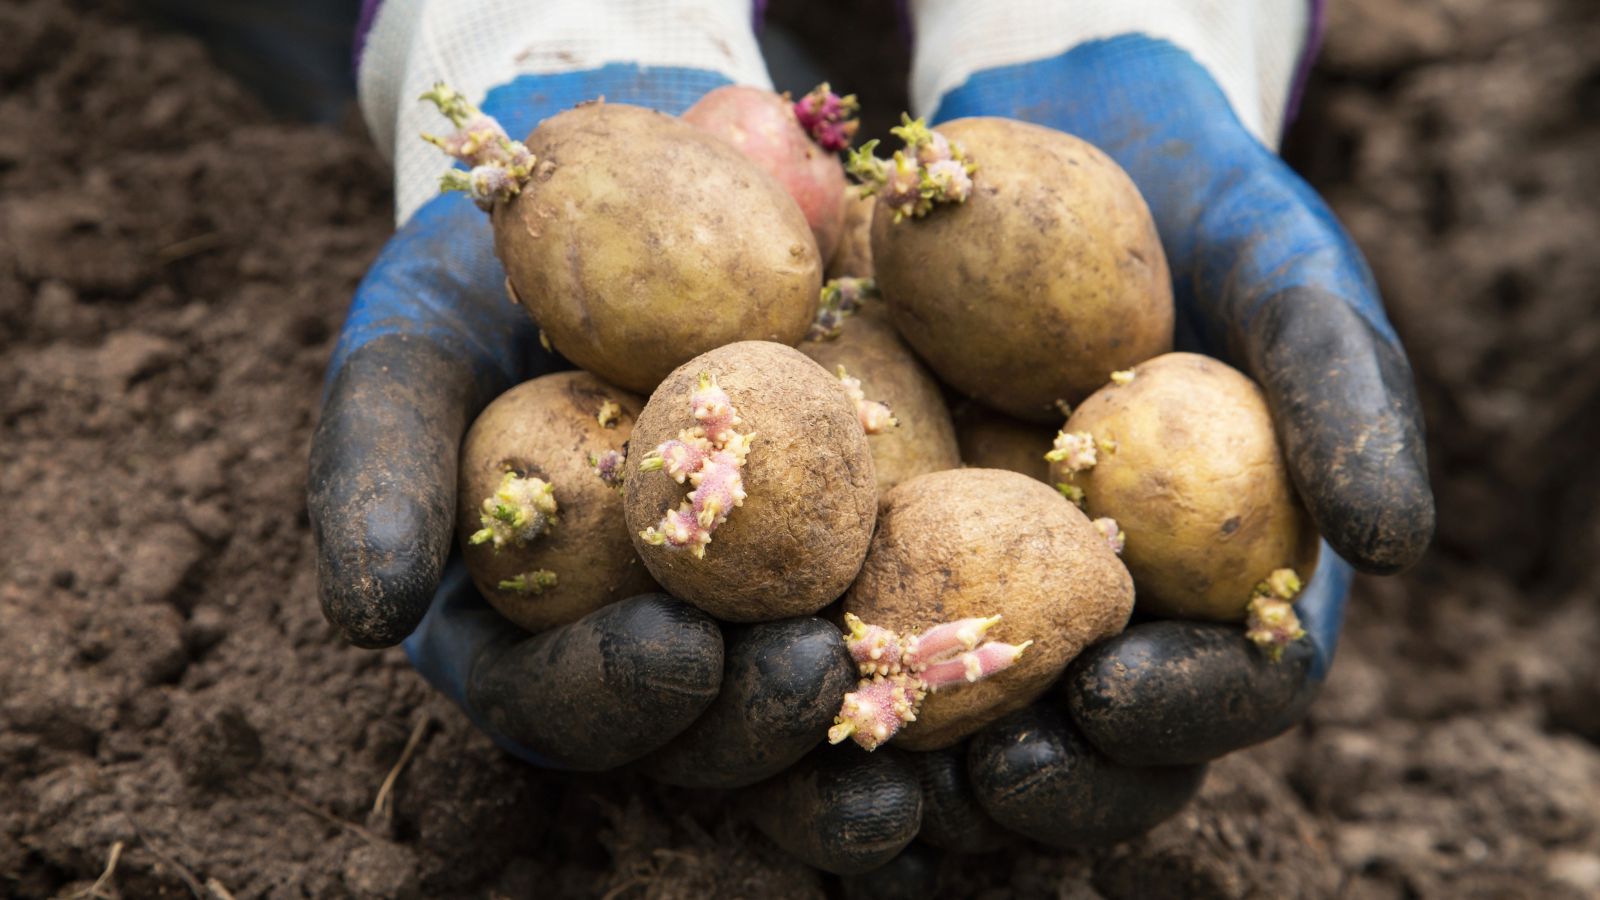
This next step is one that beginners rarely even think about. Pre-sprouting, or chitting, your potatoes helps them grow faster once planted. Simply place your seed potatoes in a bright, cool spot for a couple of weeks until they sprout little “eyes.” You’ll notice small green or purple shoots emerging, which will give your plants a head start. This simple prep step can make a big difference in your yield, so don’t overlook it as unnecessary!
Cutting and Curing Seed Potatoes
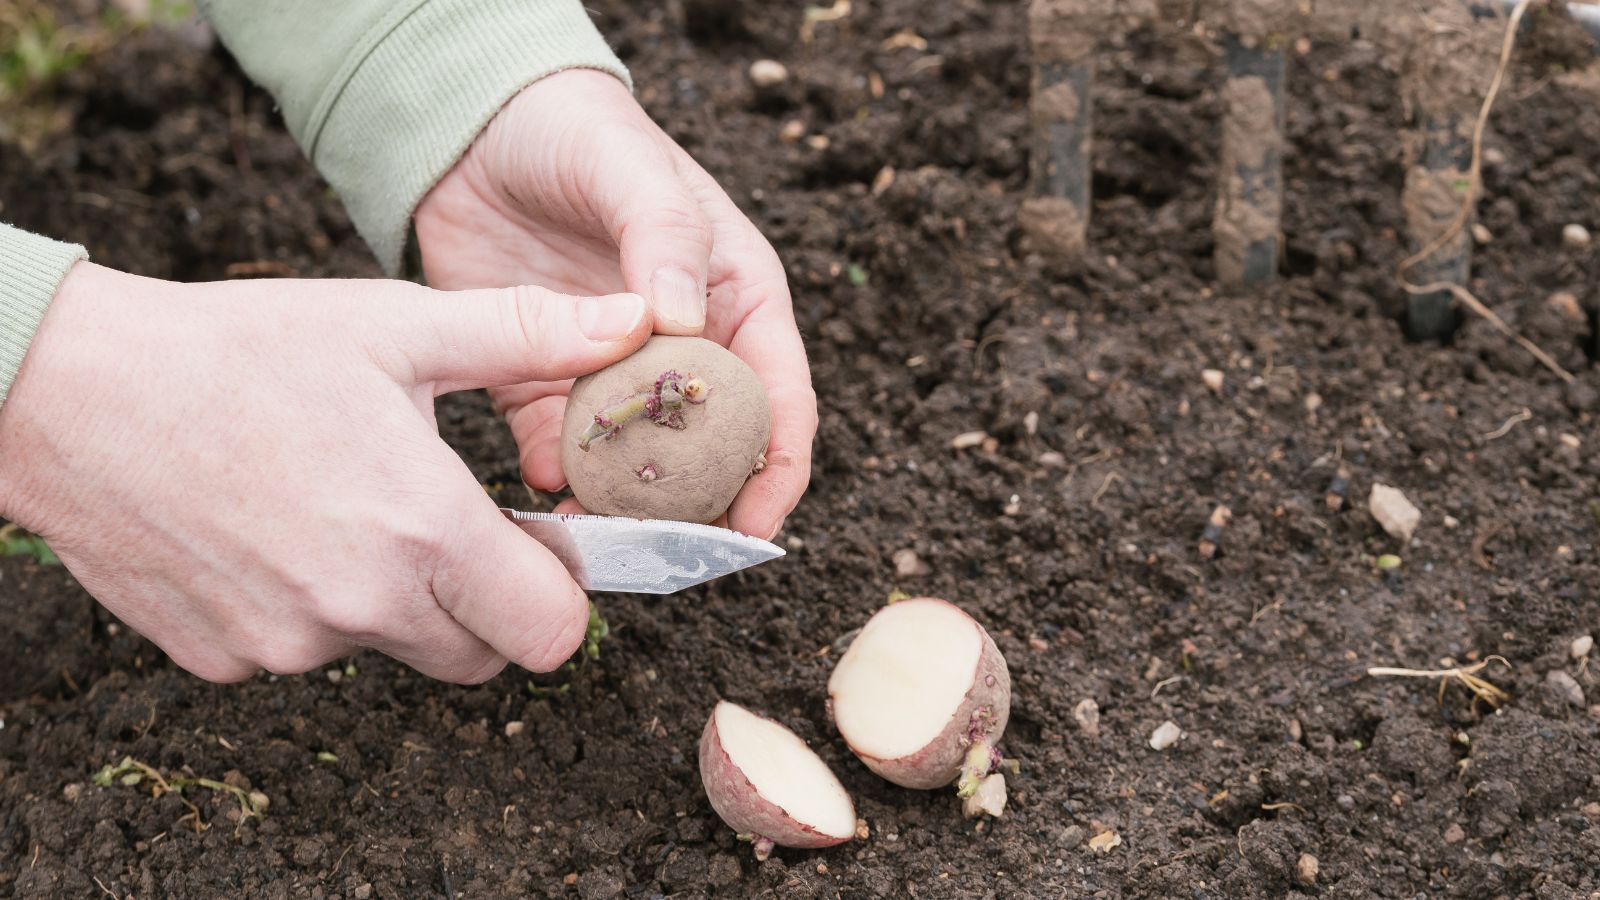
If your seed potatoes are large, it might be worth cutting them into chunks, each with one or two “eyes.” Allow these pieces to dry for a day or two, forming a callus over the cut area. Curing helps prevent rotting when they’re planted in the soil; think of it as a little shield that keeps them healthy underground.
Planting at the Right Depth and Distance
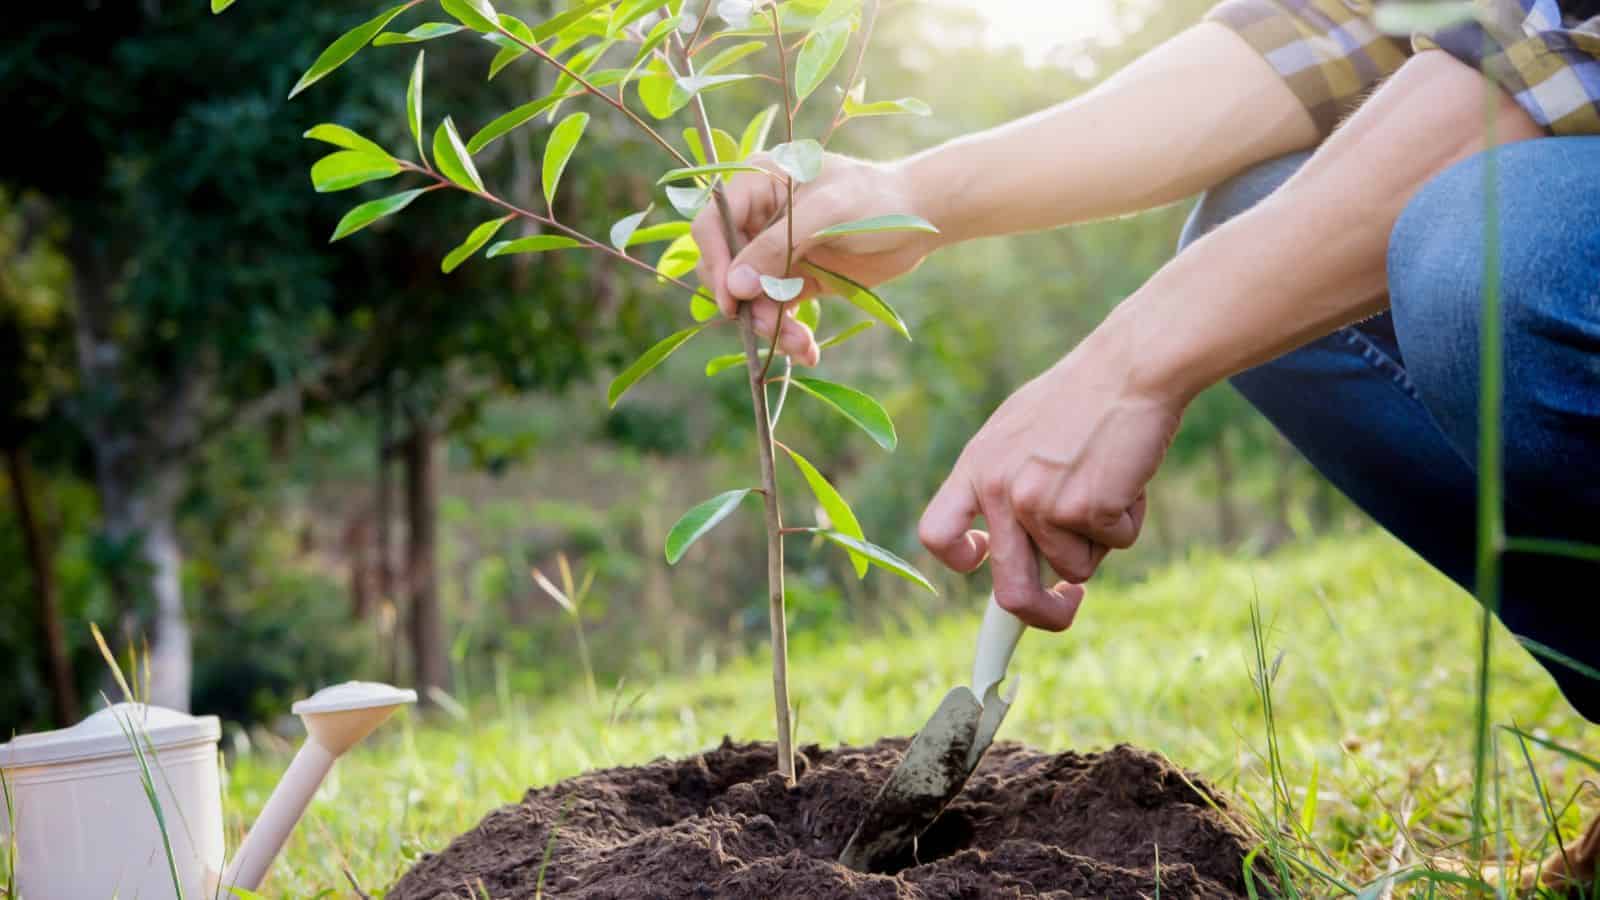
So, your seed potatoes have their eyes ready and are cured–now it’s time to get into the serious work. Start to dig trenches about 6-8 inches deep and space them 12-15 inches apart, with rows spaced 30-36 inches apart, giving your potatoes room to spread. Place each seed piece cut side down, with the sprouted eyes facing up, and cover them lightly with soil, leaving about 4 inches uncovered. All of this will ensure your potatoes have plenty of room to grow without crowding their neighbors.
Watering for Steady Growth
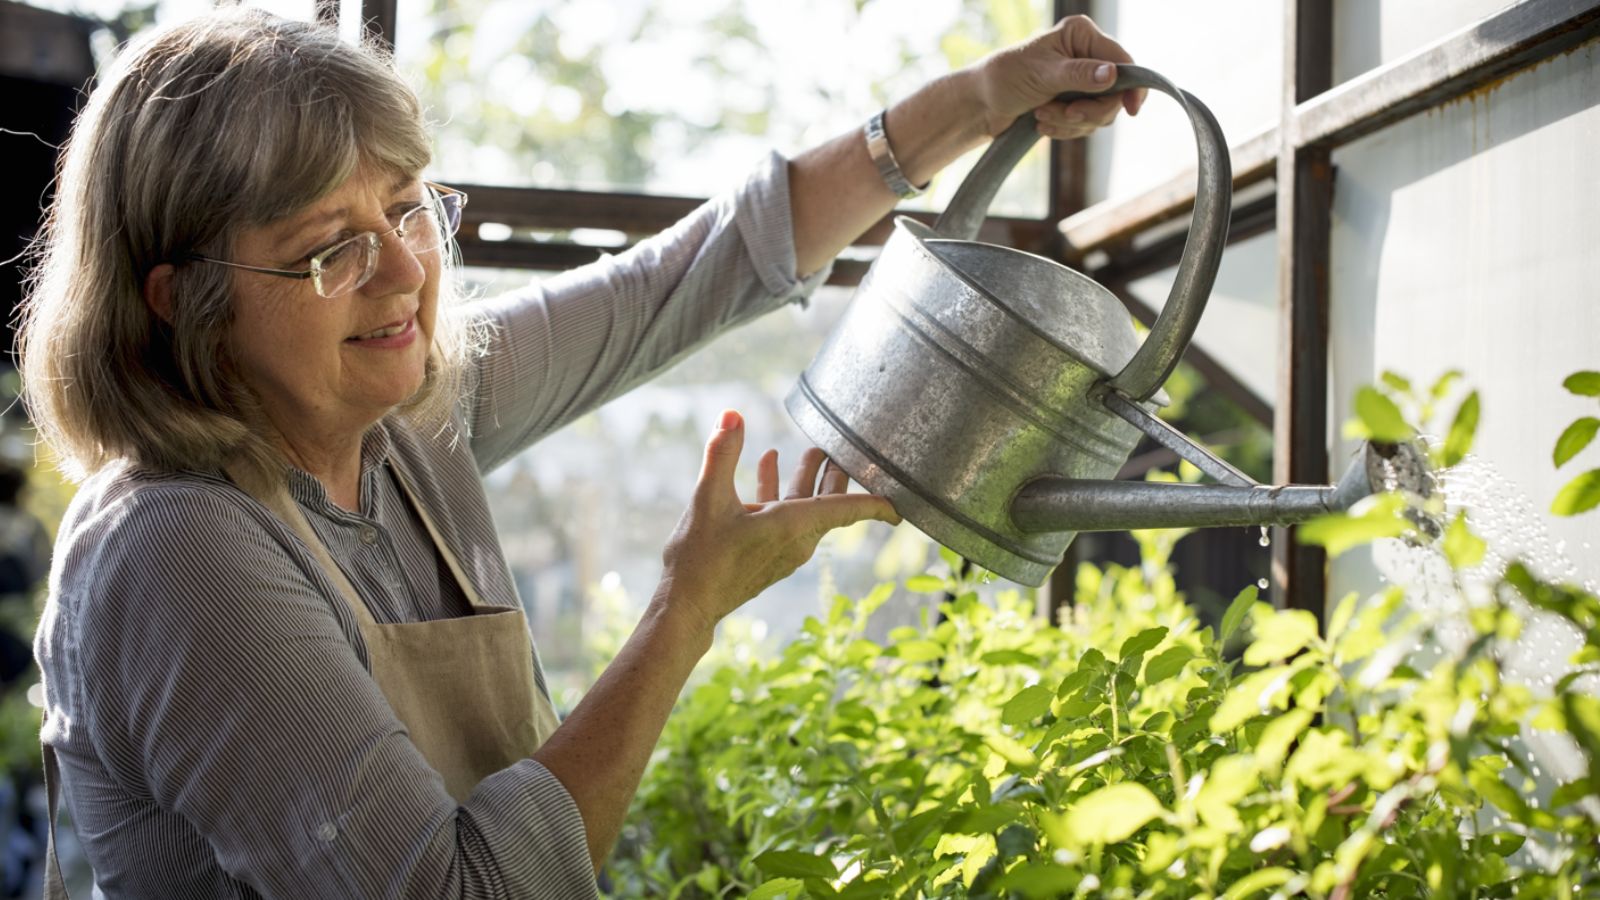
As with most vegetables, potatoes need a consistent water supply but dislike soggy soil, so aim to keep the soil moist but not drenched, particularly as the plants begin to sprout. Watering early in the day helps the soil dry out by evening, which prevents rot. Steady, moderate watering encourages healthy roots and plump tubers, so don’t try to overcompensate!
Hilling Your Potato Plants
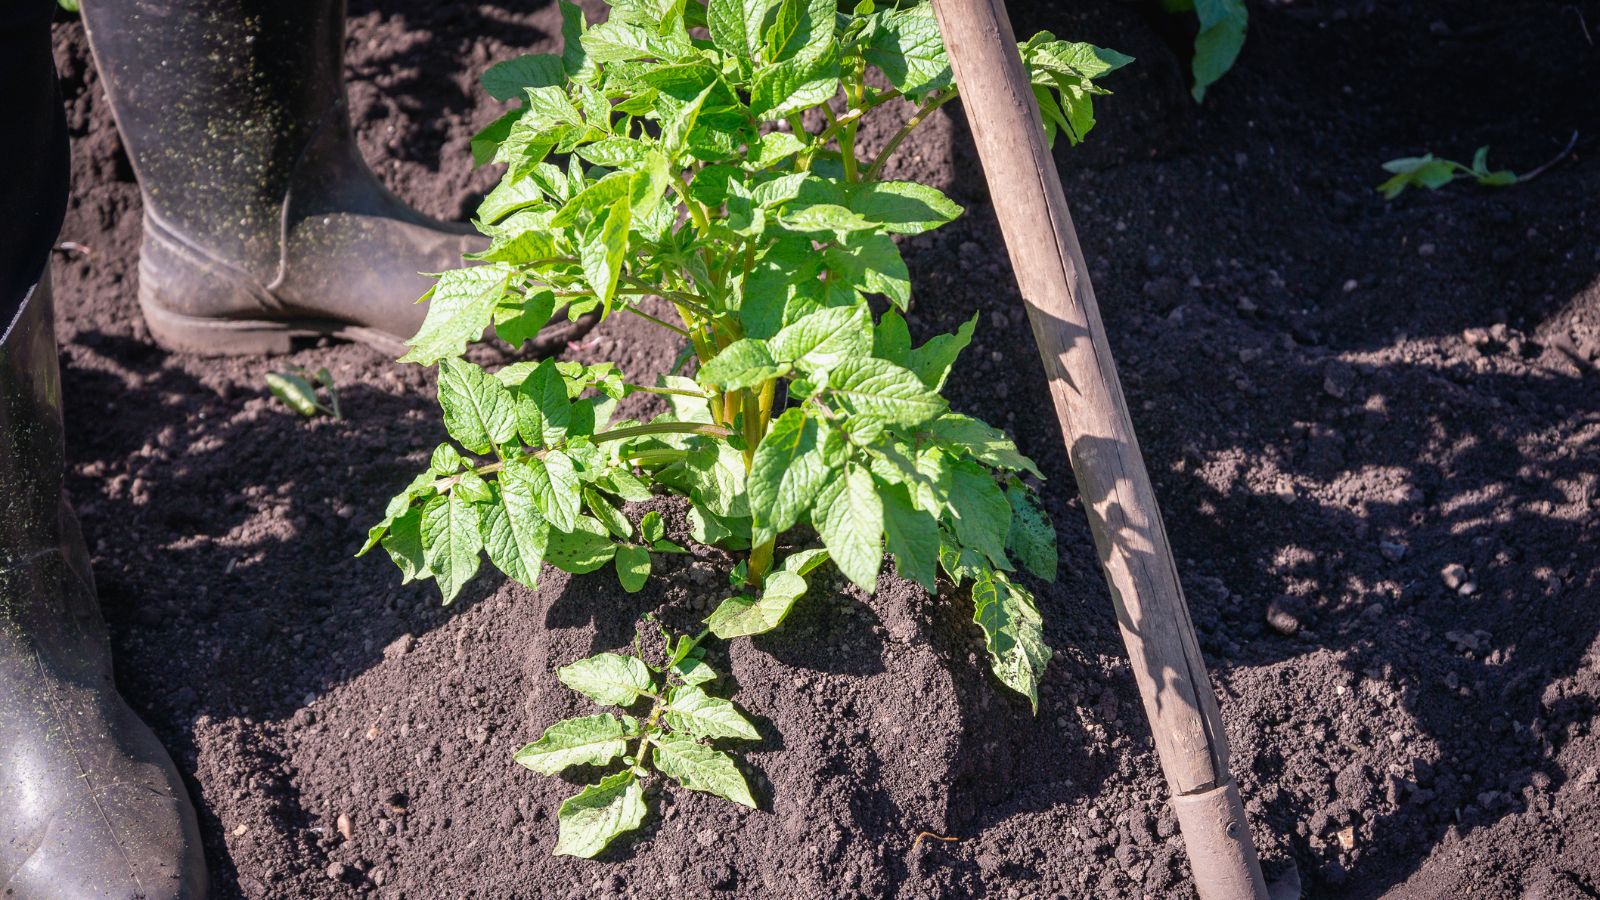
As your plants grow, you should begin mounding or “hilling” soil up around the stems to cover new tubers, which prevents them from turning green and toxic in the sunlight. Repeat this process every few weeks as the plants grow taller. Hilling keeps potatoes hidden from light and creates a loose soil bed where they can expand easily.
Feeding Your Potatoes
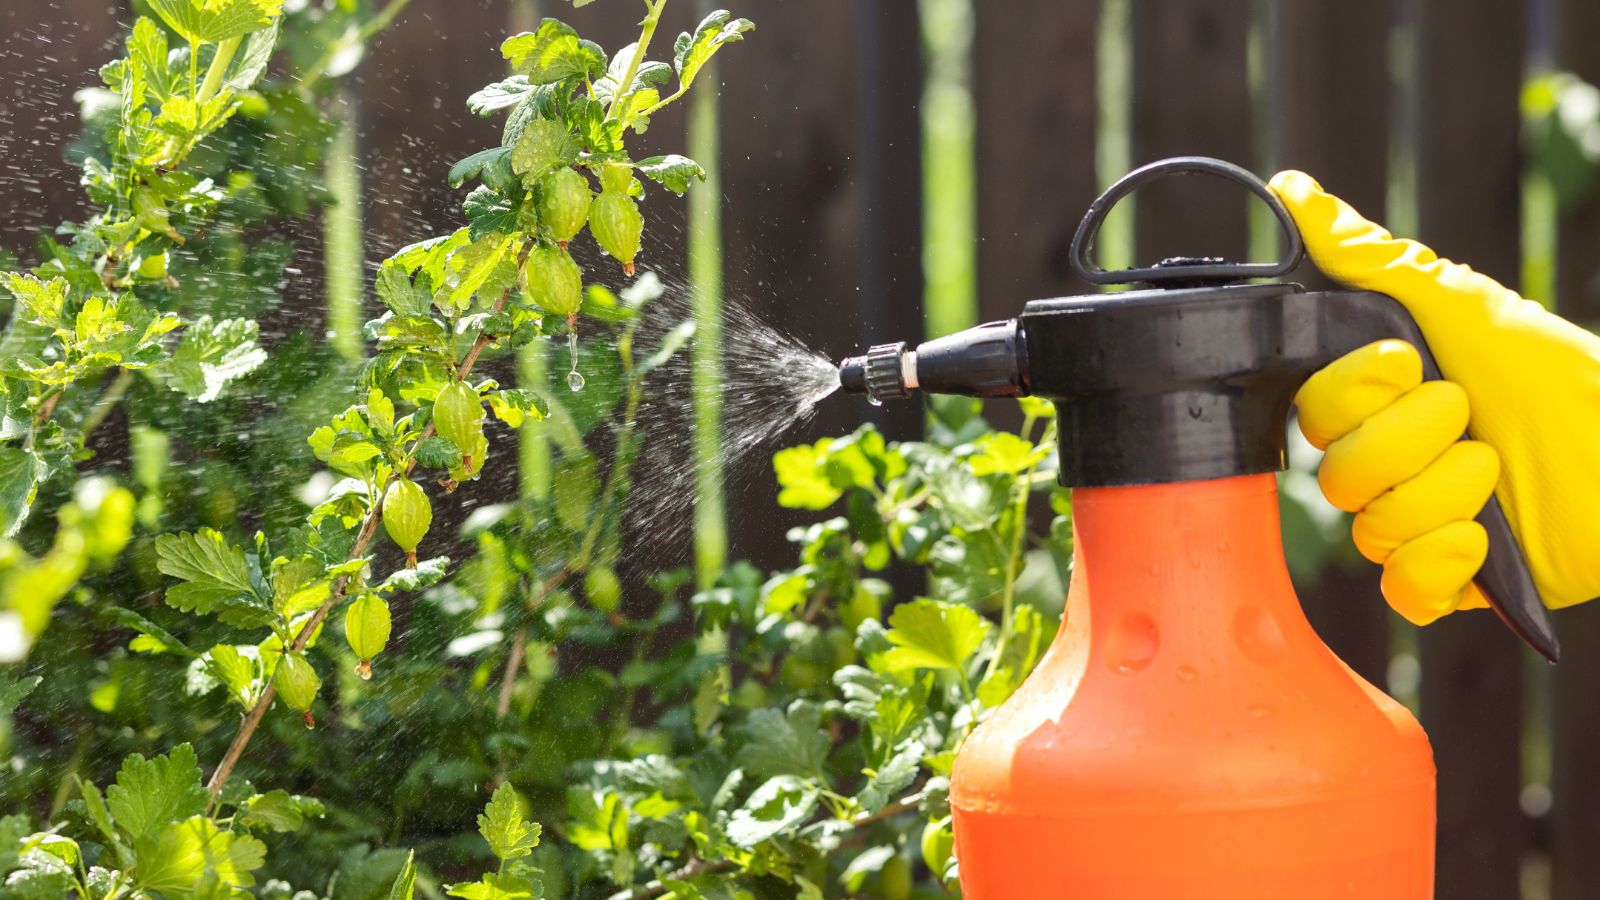
Though potatoes don’t demand heavy fertilization, a mid-season boost will inevitably help their growth. So, use a balanced fertilizer or side-dress with compost to add nutrients without overloading the soil. Believe it or not, there is such a thing as too much nitrogen, which will encourage leaf growth over tubers, so stick with a balanced approach to keep your plants focused on producing potatoes.
Managing Pests Naturally
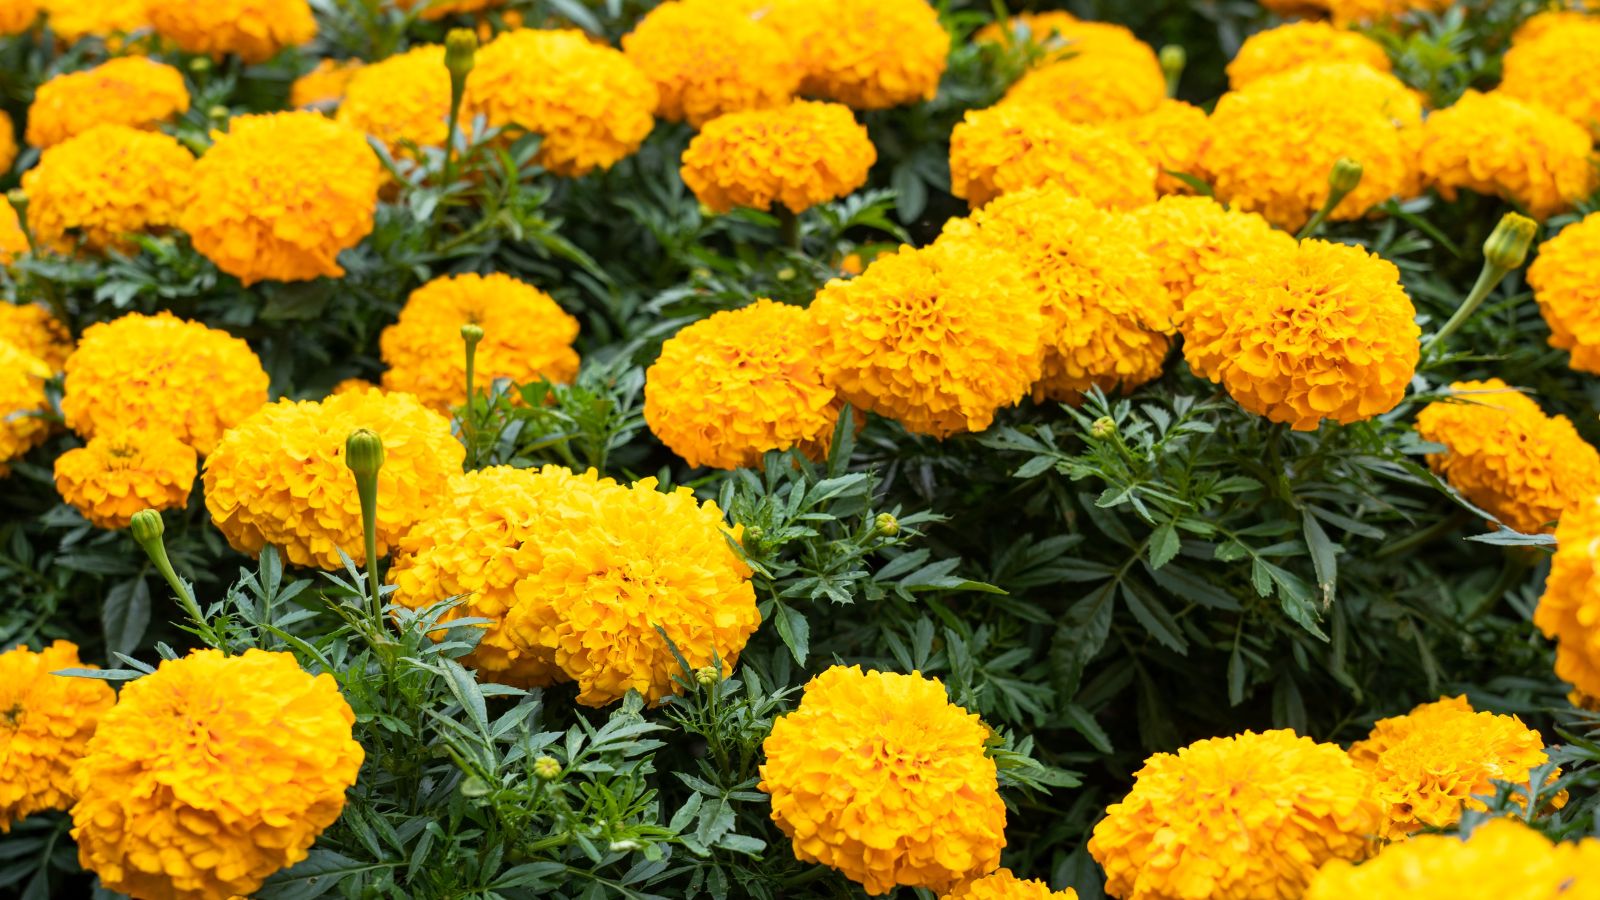
Unfortunately, common pests like aphids and potato beetles are bound to visit your plants and harm them if you’re not careful. Thankfully, it’s fairly avoidable; try some natural solutions like neem oil or companion planting with marigolds to ward off the pest from your potatoes. Alternatively, hand-picking beetles may be more effective, although it can be time-consuming. Either way, regularly check under leaves for pests to catch issues early, and don’t be tempted to use harsh chemical pesticides.
Protecting Against Potato Blight
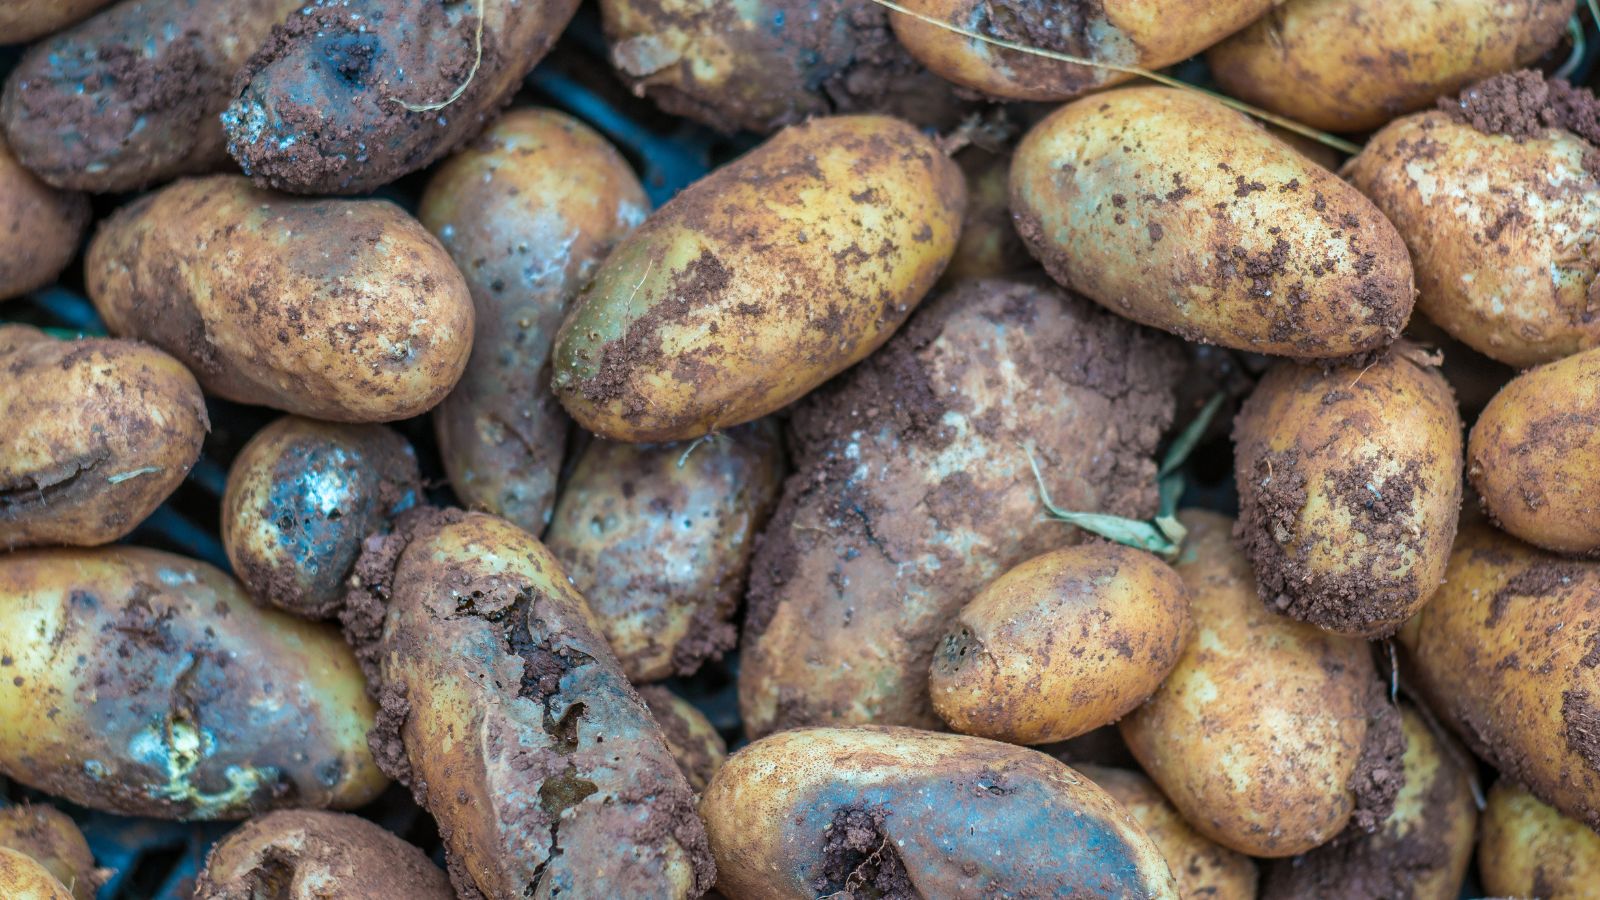
Potato blight can rapidly spoil your harvest if it spreads, so keep an eye out for dark spots on leaves. If you spot it early, simply removing affected leaves helps slow the spread. Even better, though, is ensuring that your potatoes are properly spaced from the get-go, improving air circulation to reduce blight risk.
Mulching for Moisture Retention
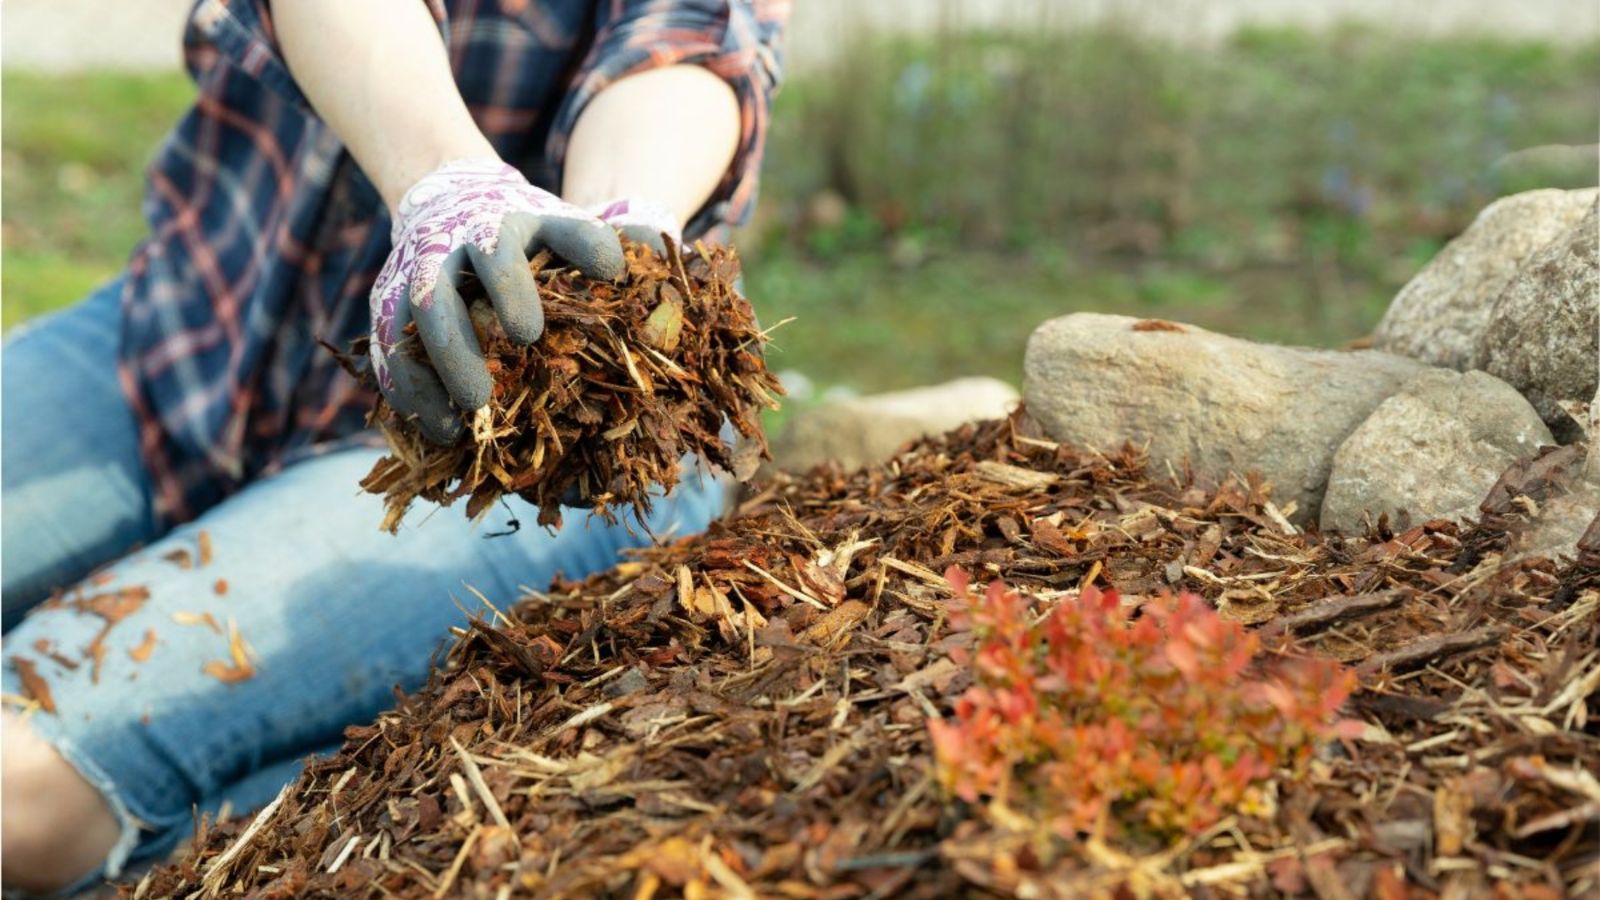
Some people think that mulching is purely decorative, but that’s not true at all. A layer of straw or other organic mulch helps your soil retain moisture and blocks weeds. Just mulch around the base of your plants without covering them entirely, and you’ll find that this extra layer keeps the soil cool, reducing the need for frequent watering while creating a tidy bed for your growing potatoes.
Watching for Flowering and Yellowing
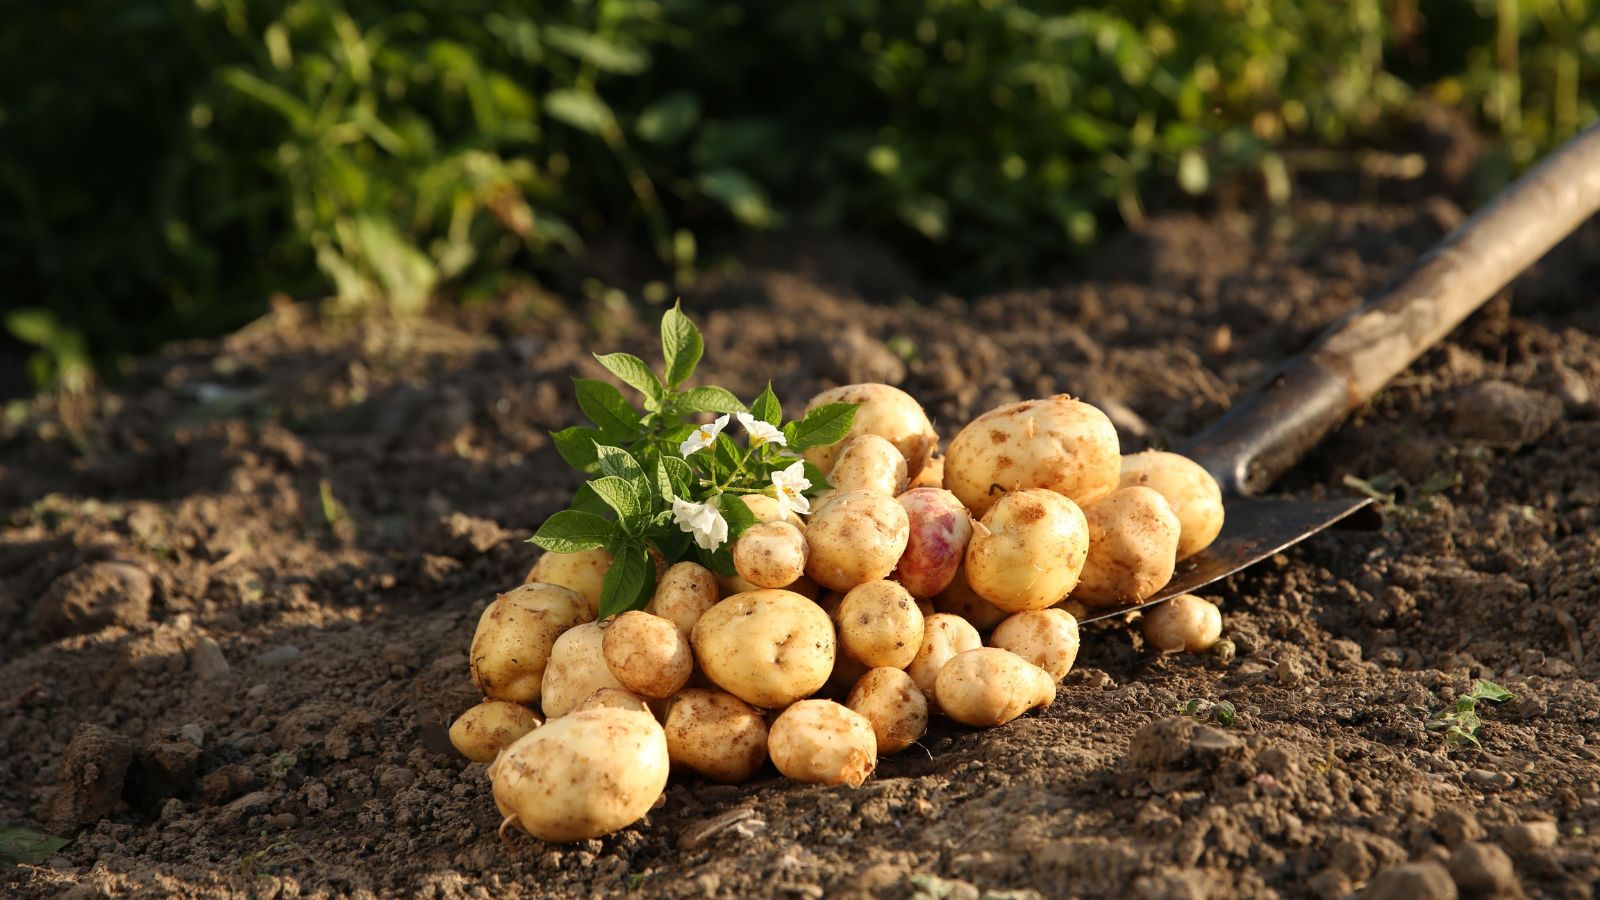
Potato plants will flower as they mature, a sign that tubers are forming below. Later, yellowing leaves indicate that the potatoes are reaching harvest time, something that many gardeners use as a cue to cut back on watering, letting the plants focus energy on ripening the tubers underground. Do the same, and you’ll have tasty potatoes in no time.
Harvesting New Potatoes
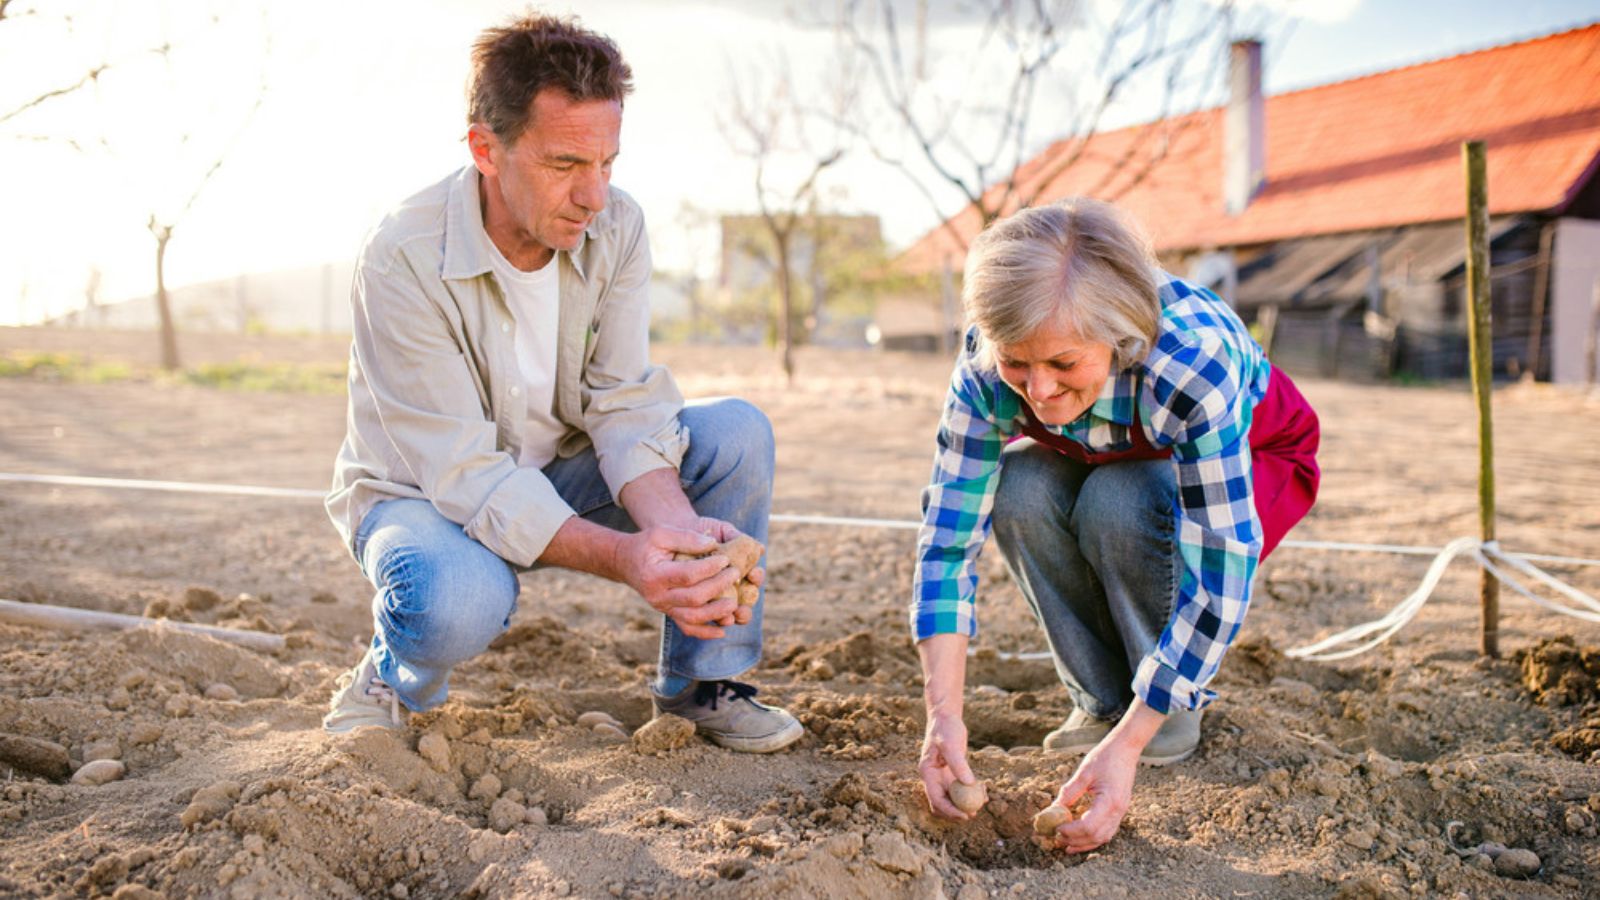
For tender, smaller “new potatoes,” you can start harvesting once your plants flower, so get excited! Gently dig around the edges of each plant to pull up a few tubers without disturbing the main crop. These young potatoes have a delicate flavor and are great for early summer meals, but they’re not ideal for mashing–stick to boiling them.
Knowing When to Harvest Mature Potatoes
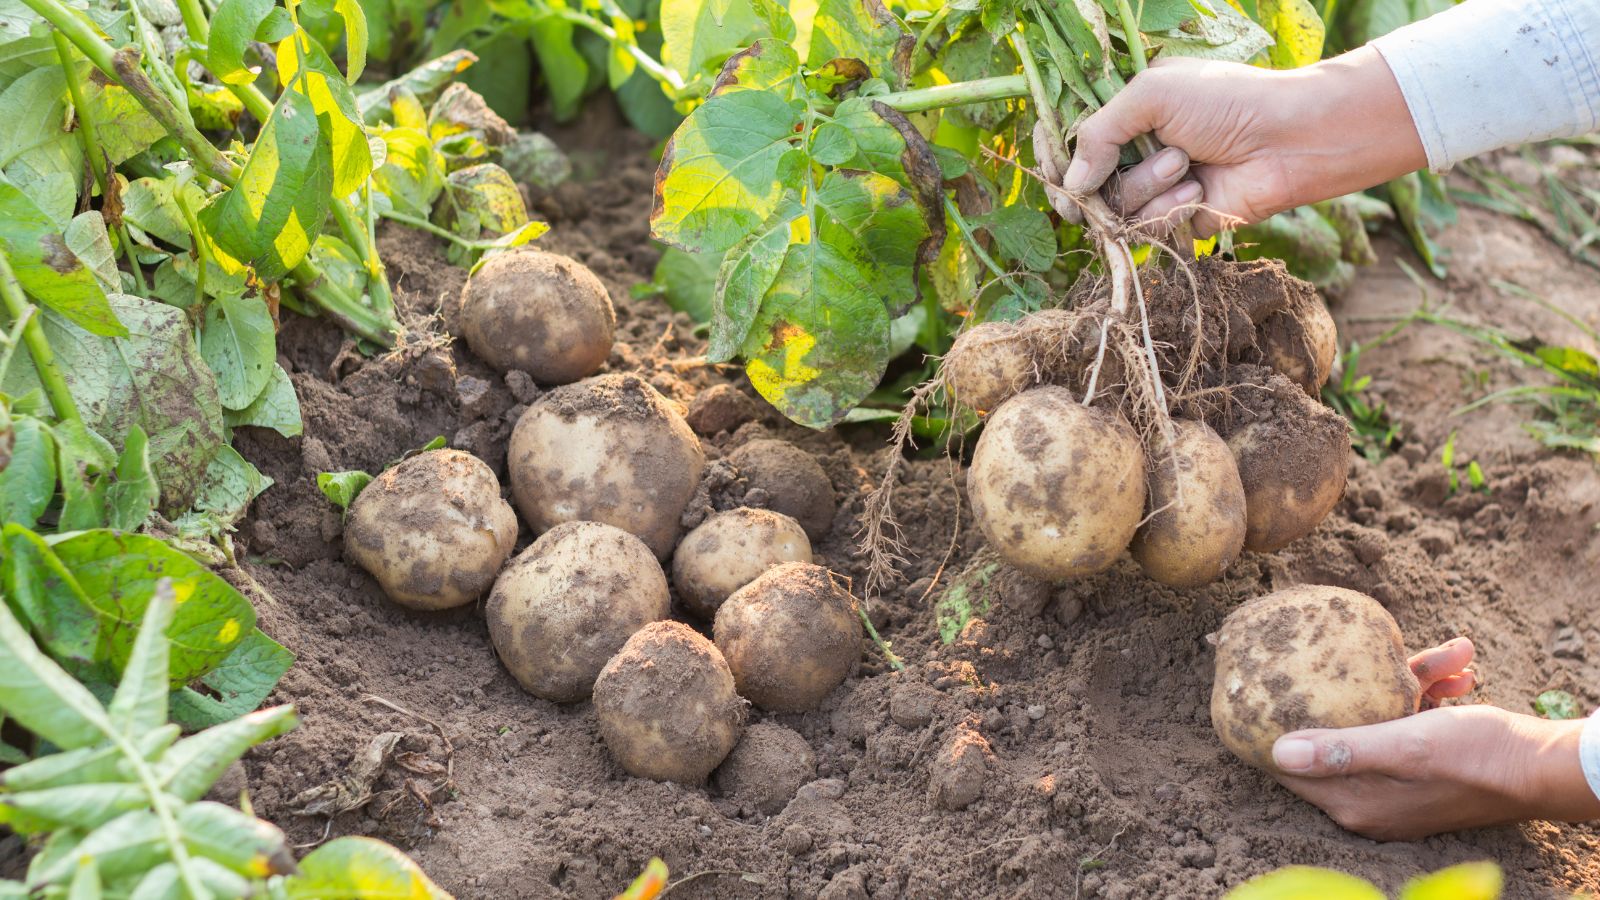
When the foliage turns completely yellow and dies back, your main crop is ready for harvesting. This typically happens a couple of weeks after flowering, so once again, start carefully digging around the plant base, lifting the tubers without damaging them. In contrast to new potatoes, mature potatoes are perfect for baking, frying, or mashing.
Curing and Storing Your Harvest
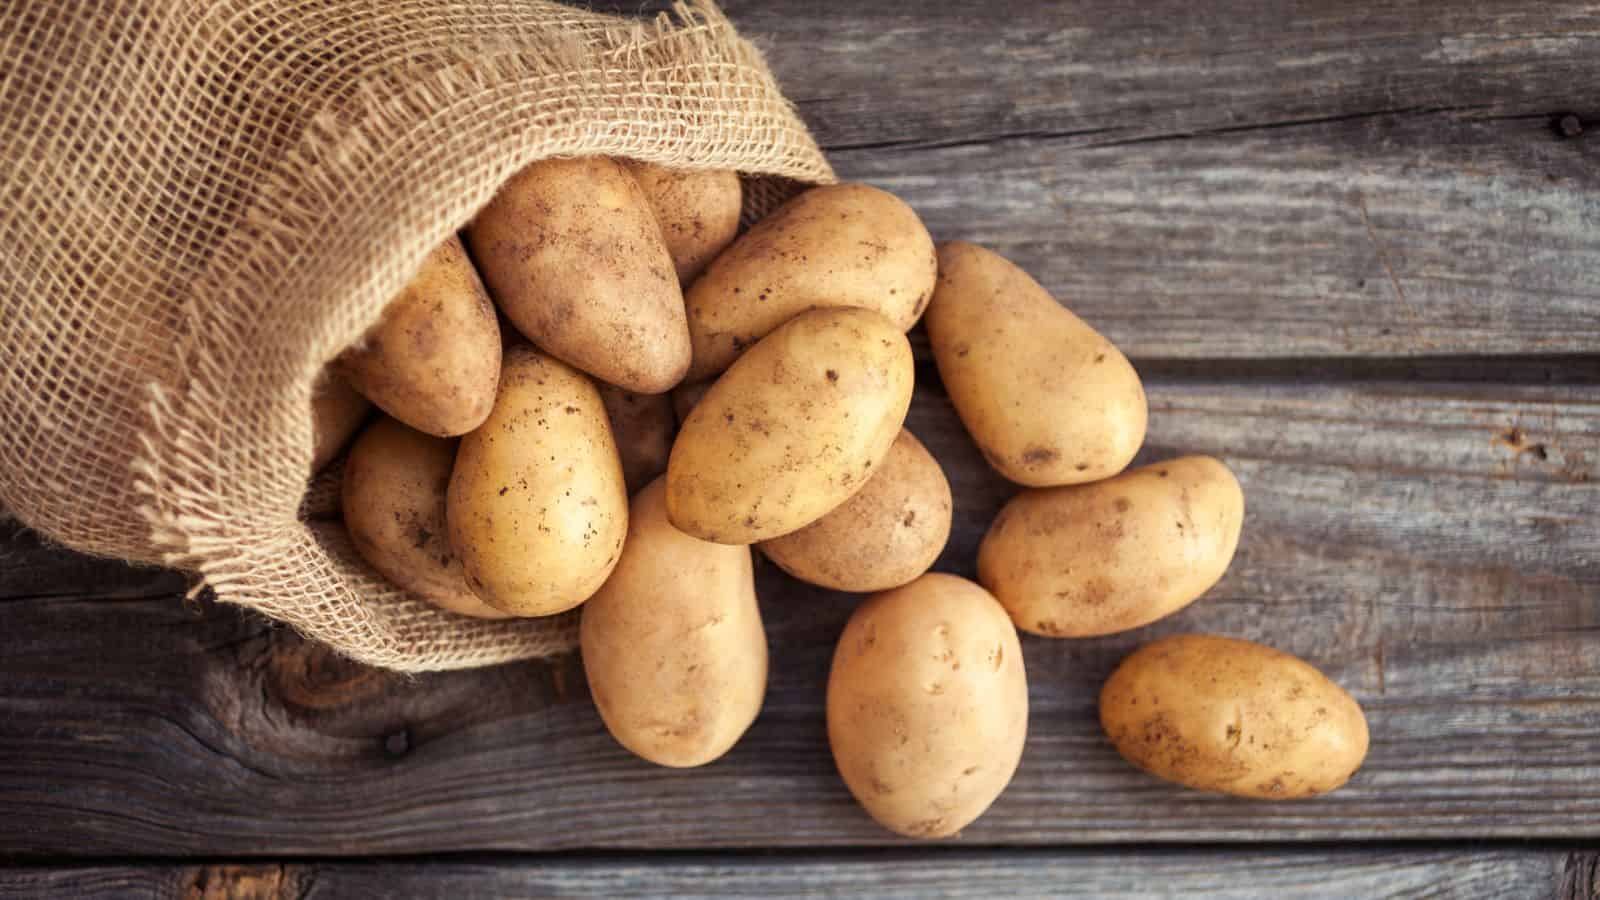
Before you start mashing your newly harvested potatoes, you should take the time to allow them to dry in a shaded, well-ventilated area for a few days. Curing hardens their skin, making them last a lot longer in storage. Once cured, store them in a cool, dark place for several months, and they’ll stay fresh and ready to cook for months.
Rotating Crops for Future Success
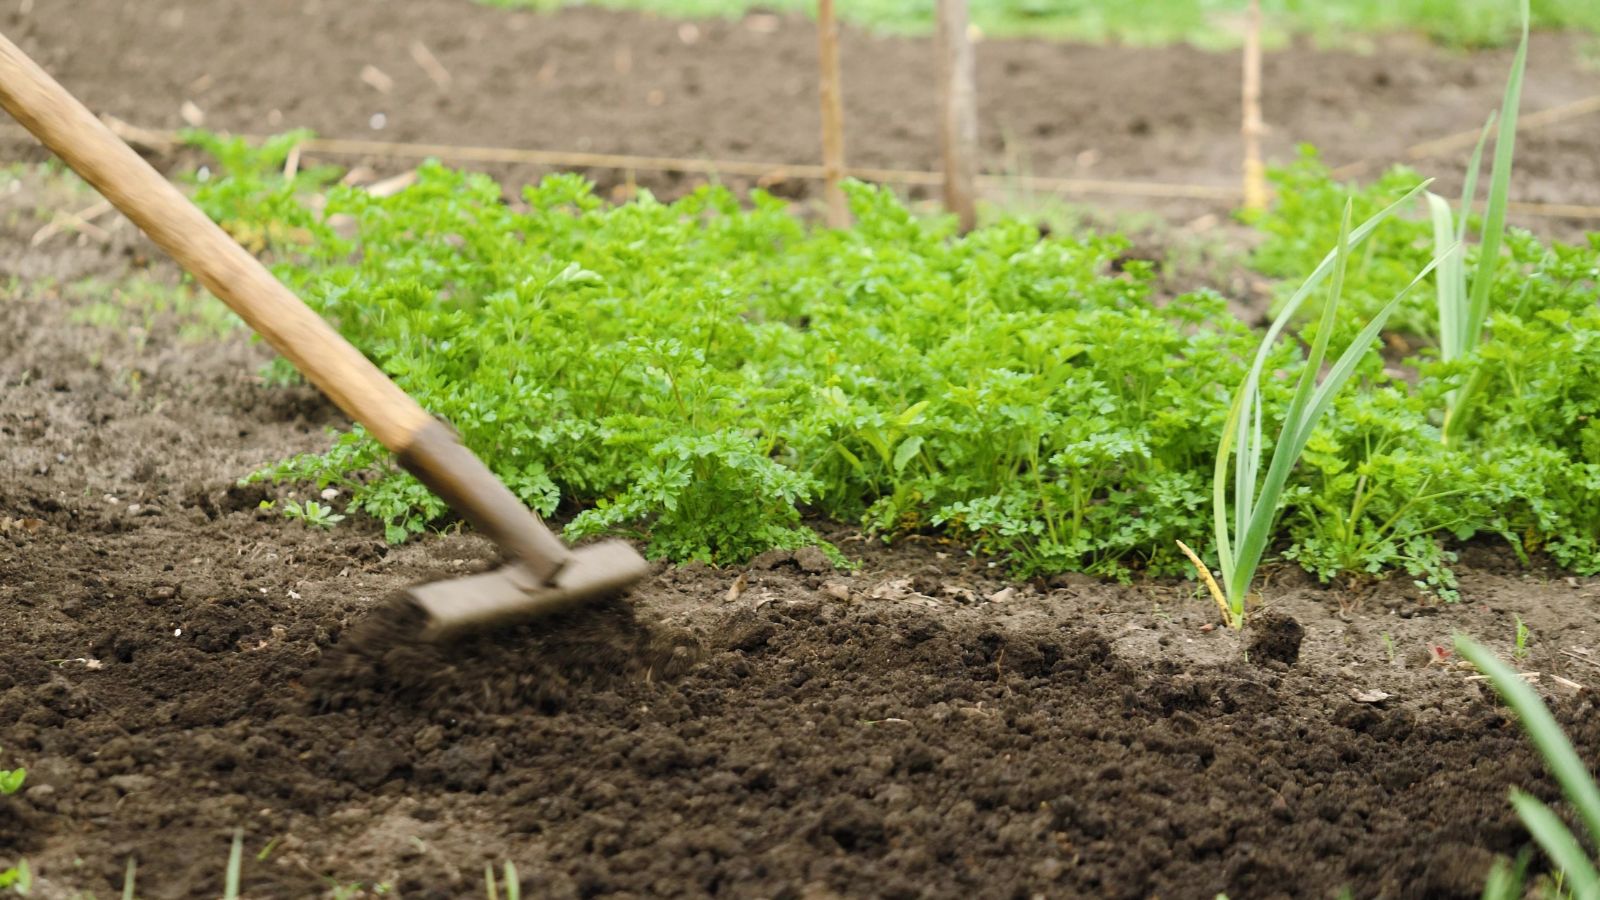
Potatoes shouldn’t grow in the same spot year after year, as they’re prone to soil-borne diseases, which is why rotating crops every season is so important, keeping the soil healthy and reducing pest buildup. Consider planting beans or leafy greens in their place to restore nutrients for next year’s harvest, and your future potatoes will thank you.
Avoiding Common Potato Growing Mistakes
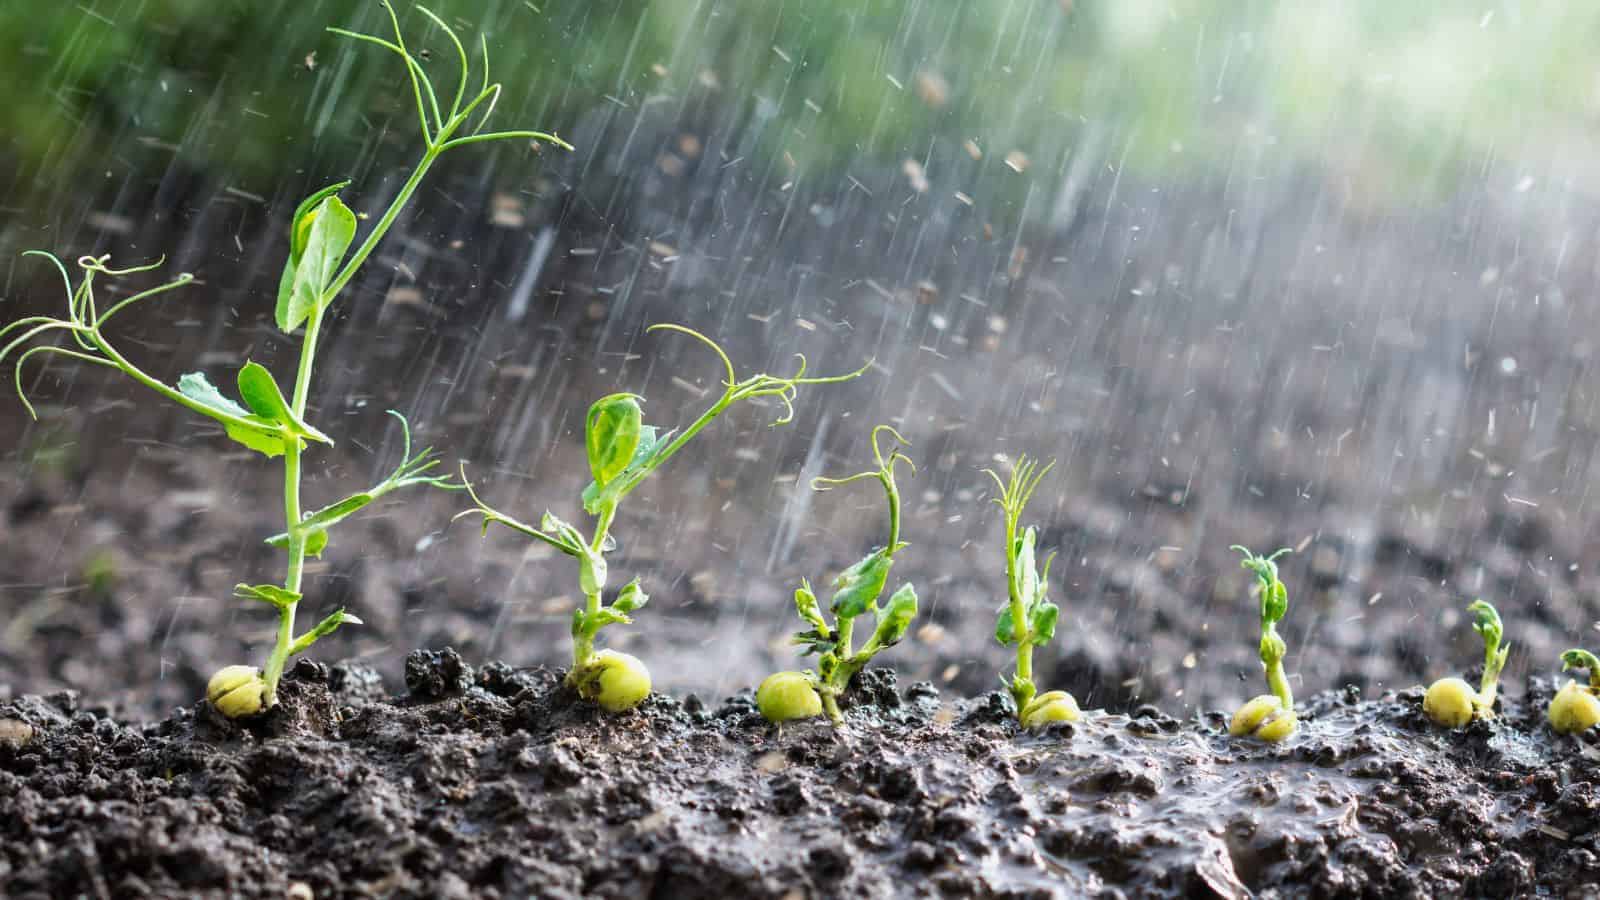
Above all, if your potatoes didn’t turn out how you hoped they would, it’s important to learn from your mistakes in the future. Overwatering, crowded planting, and poor soil are frequent issues that can lead to disappointing results. So, take note of what you did right and wrong and ensure that you learn from each season. Before you know it, you’ll be a pro potato grower!
