Starting seeds indoors is an excellent way to get a head start on the growing season. It allows you to control the environment, ensuring that your seedlings have the best possible conditions to thrive before being transplanted outdoors. This guide will walk you through the essential steps to successfully start seeds indoors.
Why Start Seeds Indoors?
Starting seeds indoors offers several advantages. It gives you the ability to start growing your plants weeks before the outdoor growing season begins. This early start can result in earlier harvests and healthier plants. Additionally, starting seeds indoors allows you to control the growing environment, including light, temperature, and moisture levels. This control often leads to stronger, more resilient seedlings. For many gardeners, growing plants from seed is also more cost-effective than purchasing seedlings.
What You’ll Need
Before you begin, gather all the materials you’ll need. This preparation will make the process smoother and more enjoyable.
- Containers: You can use seed trays with individual cells, small pots, or even recycled containers like yogurt cups. Just make sure they have drainage holes.
- Potting Mix: Use a light, sterile seed-starting mix. This type of soil is designed to provide the right balance of moisture retention and drainage.
- Seeds: Choose high-quality seeds from a reputable source. Check the expiration date to ensure they are still viable.
- Light Source: If you don’t have a sunny window that receives consistent light, consider using grow lights. Fluorescent or LED grow lights placed just a few inches above the seedlings work best.
- Watering Can or Spray Bottle: A small watering can with a gentle spout or a spray bottle helps keep the soil moist without disturbing the seeds.
- Plastic Covers or Domes: These help retain moisture during germination.
- Labels: These are essential for keeping track of different seed varieties.
Step-by-Step Guide to Starting Seeds Indoors
Once you have all your materials, you’re ready to start planting. Follow these steps to give your seeds the best chance to grow into healthy plants.
Prepare Your Containers
Start by filling your seed trays or pots with the seed-starting mix. Gently press the soil down to remove air pockets, but don’t pack it too tightly. The soil should be moist but not soggy before you plant the seeds. If the mix is dry, lightly water it and let it drain before adding your seeds.
Plant the Seeds
Refer to the seed packet for specific planting instructions, such as depth and spacing. Generally, you’ll want to plant the seeds at a depth of about two to three times their diameter. For very small seeds, you might simply press them onto the surface of the soil. Cover the seeds lightly with soil and gently press down to ensure good seed-to-soil contact.
Provide Light and Heat
After planting, place your seed trays or pots in a location where they will receive adequate light. If you’re using grow lights, keep them about 2-3 inches above the seedlings and adjust the height as the plants grow. Most seeds germinate best at temperatures between 65-75°F (18-24°C). If your space is cooler, consider using a heat mat to maintain the ideal temperature.
Keep the Soil Moist
Maintaining consistent moisture is key to successful germination. Use a spray bottle or a gentle watering can to keep the soil evenly moist. Cover the trays with plastic covers or domes to help retain humidity, but remove them once the seeds sprout to prevent mold growth. Check the soil daily, and avoid letting it dry out completely.
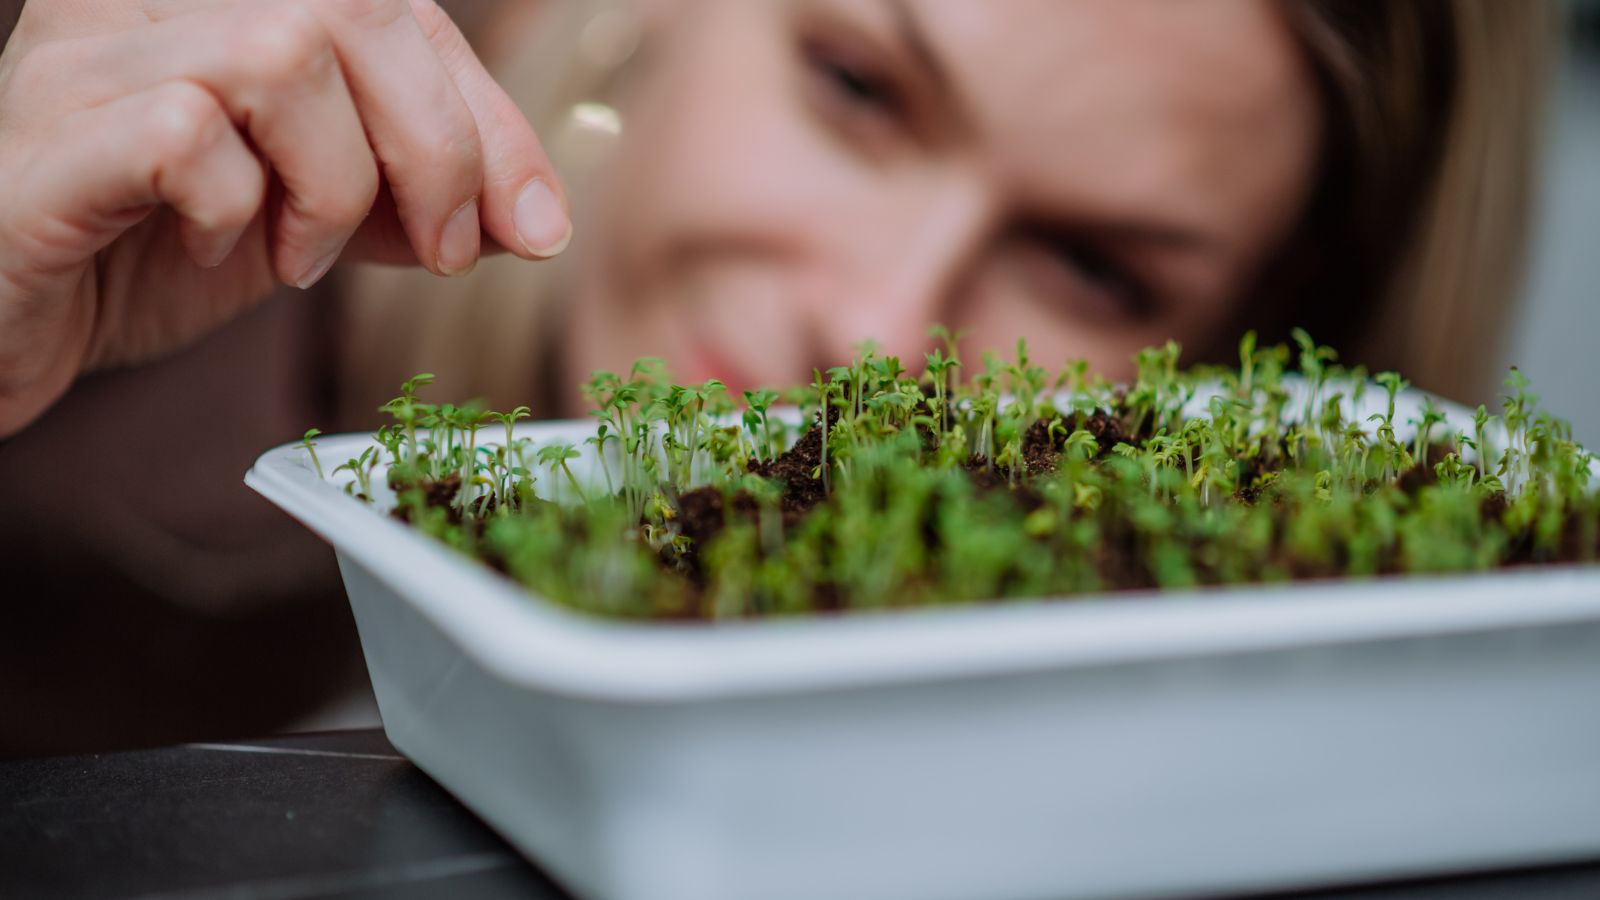
Thin the Seedlings
Once your seedlings have developed a set of true leaves, it’s time to thin them. Thinning involves removing the weaker seedlings to give the stronger ones more space to grow. Use small scissors to snip the weaker plants at the soil level, being careful not to disturb the roots of the remaining seedlings. Thinning ensures that each plant has enough room to develop strong roots and leaves.
Transplanting Seedlings
As your seedlings grow, they will eventually outgrow their containers. Before transplanting them outdoors, you’ll need to harden them off. Hardening off is the process of gradually acclimating the seedlings to outdoor conditions. Start by placing them outside in a sheltered spot for a few hours each day, gradually increasing the time over a week or two.
When you’re ready to transplant, choose a cloudy day or plant in the late afternoon to reduce transplant shock. Carefully remove the seedlings from their containers, being gentle with the roots. Plant them at the same depth they were growing in their containers, and water them well after transplanting.
Final Tips for Success
Starting seeds indoors requires patience and attention to detail, but the rewards are worth the effort. Monitor your seedlings regularly, providing them with the right amount of light, water, and warmth. Keep an eye out for any signs of stress, such as yellowing leaves or stunted growth, and adjust their care as needed. With the right conditions and care, you’ll soon have a garden full of healthy, robust plants ready to flourish outdoors.