Starting a compost bin in your backyard is a fantastic way to reduce waste, enrich your soil, and support sustainable gardening practices. Composting transforms kitchen scraps and yard waste into nutrient-rich compost that can improve the health of your plants. Here’s a step-by-step guide to help you start a compost bin in your backyard.
Choose the Right Location
Selecting the appropriate location for your compost bin is crucial for convenience and efficiency. Choose a spot that is easily accessible from your kitchen and garden. The location should be on level ground with good drainage to prevent waterlogging. Partial shade is ideal to keep the compost from drying out too quickly, but full sun can also work if you monitor moisture levels.
Select a Compost Bin
There are various types of compost bins available, or you can build your own. The choice depends on your space, budget, and aesthetic preferences.
Types of Compost Bins:
- Plastic Bins: These are enclosed bins that help retain heat and moisture, speeding up the composting process. They are great for small spaces.
- Tumbling Composters: These are drum-shaped bins that you can rotate to mix the compost, making the process easier and faster.
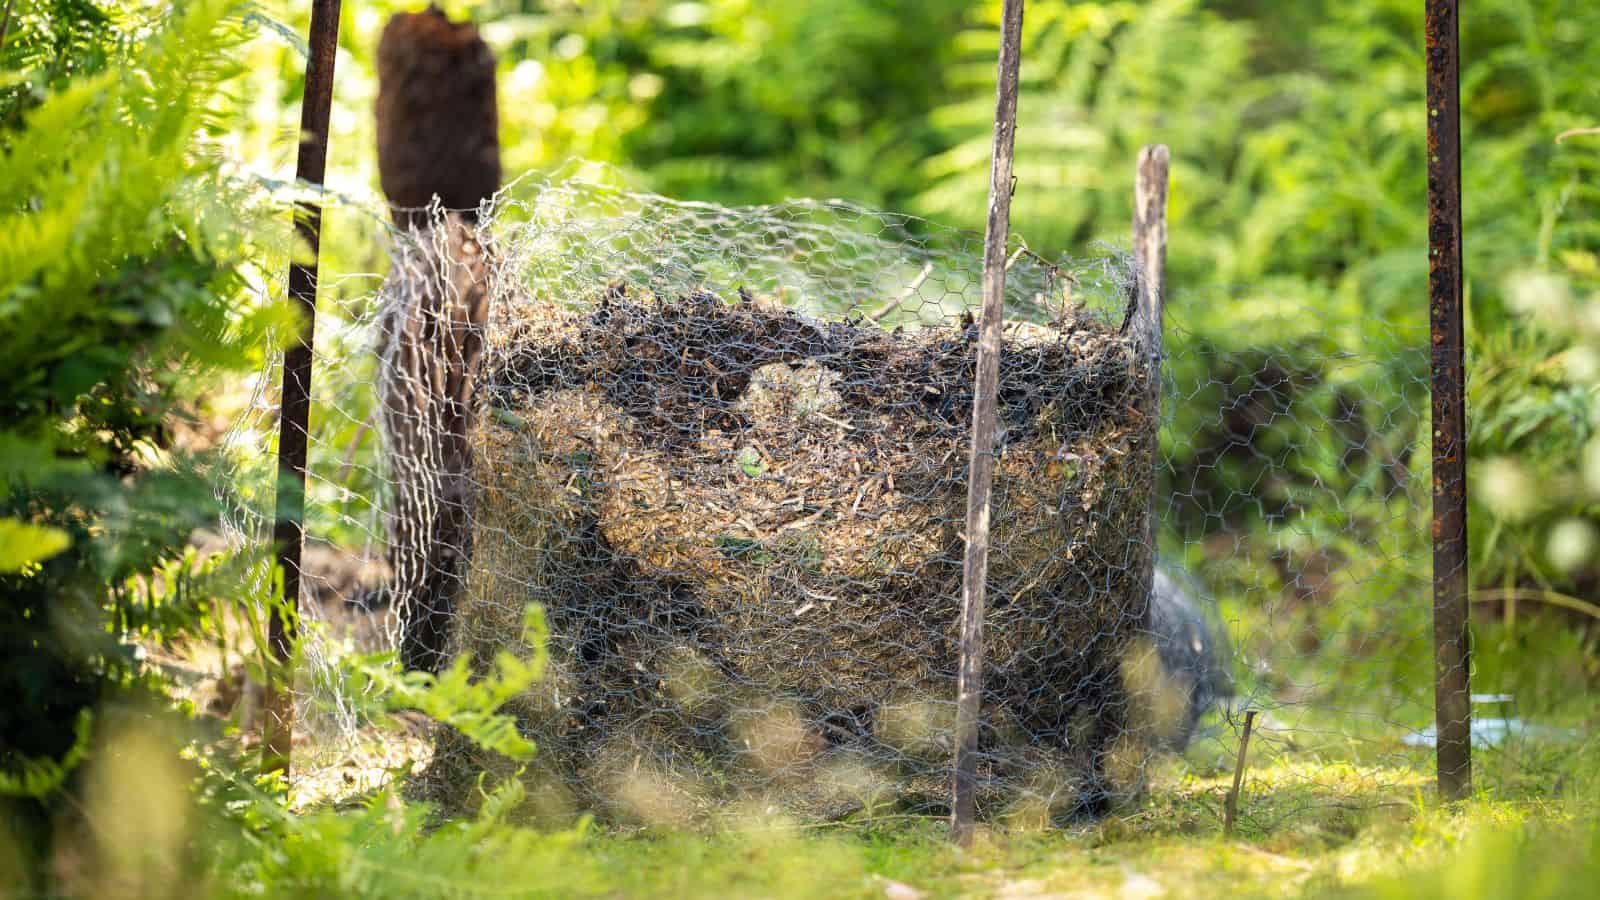
- DIY Bins: You can build your own bin using materials like wood pallets, wire mesh, or even a simple pit in the ground.
Gather Compostable Materials
Successful composting relies on a balanced mix of “greens” (nitrogen-rich materials) and “browns” (carbon-rich materials). Aim for a ratio of roughly three parts browns to one part greens.
Greens (Nitrogen-Rich):
- Fruit and vegetable scraps
- Coffee grounds and tea bags
- Grass clippings
- Fresh leaves
Browns (Carbon-Rich):
- Dry leaves
- Straw or hay
- Shredded newspaper or cardboard
- Small branches and twigs
Start Building Your Compost Pile
Begin by laying down a layer of coarse materials like straw or small branches. This helps with aeration and drainage at the bottom of the bin.
Layering Tips:
- First Layer: Add a layer of browns (dry leaves, straw) about 6 inches deep.
- Second Layer: Add a layer of greens (kitchen scraps, grass clippings) about 2-4 inches deep.
- Alternate Layers: Continue layering browns and greens until the bin is full. Always cover greens with a layer of browns to reduce odors and deter pests.
Maintain Your Compost Bin
Proper maintenance ensures that your compost breaks down efficiently and remains odor-free. Here are some key maintenance tasks:
Turning the Compost:
- Regularly turning the compost helps aerate the pile and speeds up decomposition. Use a garden fork or compost aerator to turn the pile every 1-2 weeks.
Monitoring Moisture:
- The compost pile should be as damp as a wrung-out sponge. If it’s too dry, add water or more greens. If it’s too wet, add more browns to absorb excess moisture.
Managing Temperature:
- A well-maintained compost pile will heat up as the materials break down. Ideal temperatures are between 135°F and 160°F (57°C to 71°C). Turning the pile helps maintain these temperatures.
Troubleshooting Common Issues
Sometimes, composting doesn’t go as planned. Here are common issues and how to address them:
Odor Problems:
- Cause: Too much green material, not enough aeration.
- Solution: Add more browns and turn the pile to increase aeration.
Pests:
- Cause: Exposed food scraps, improper balance of materials.
- Solution: Bury food scraps under browns and avoid adding meat or dairy products.
Slow Decomposition:
- Cause: Lack of moisture, insufficient aeration, improper balance of greens and browns.
- Solution: Ensure the pile is moist, turn it regularly, and adjust the balance of materials.
Harvesting Your Compost
After a few months to a year, your compost will be ready to use. Finished compost is dark, crumbly, and has an earthy smell.
Harvesting Tips:
- Top Layer: Unfinished compost can be left in the bin to continue decomposing.
- Bottom Layer: Finished compost can be sifted out and used in your garden beds, around plants, or as a component in potting mixes.