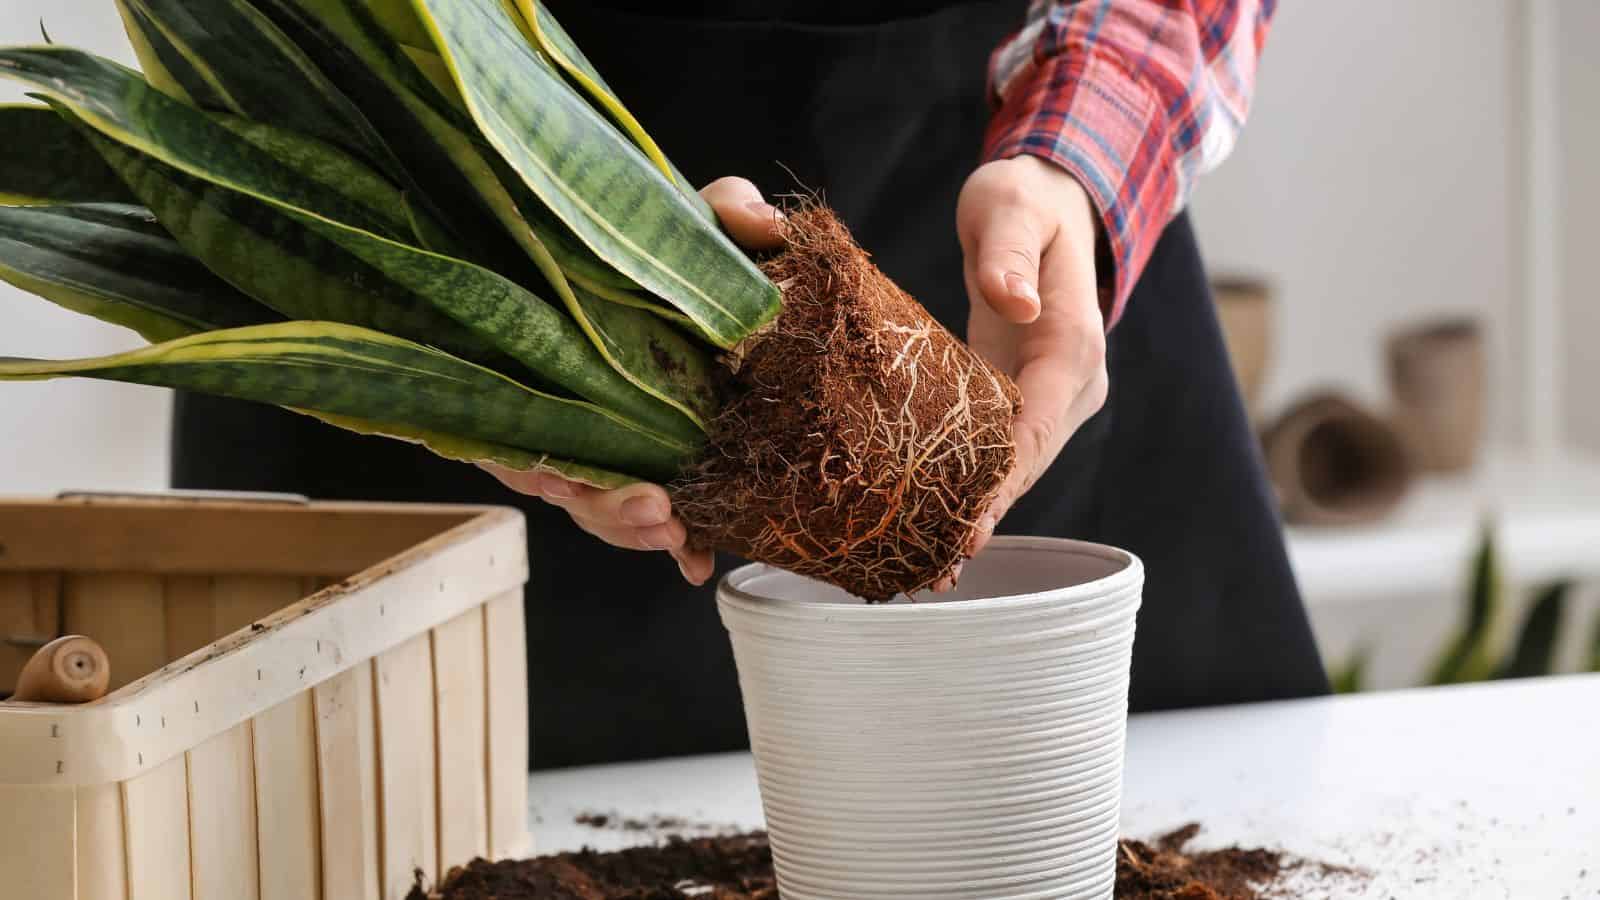
Repotting your plants is an essential part of plant care that ensures they have enough room to grow and receive the nutrients they need. Done correctly, it can revitalize a plant and promote healthy growth. Here are five best practices for repotting your plants.

1. Choose the Right Time
Timing is crucial when it comes to repotting. The best time to repot most plants is during their active growing season, usually in spring or early summer. Avoid repotting during the dormant winter months, as plants are less likely to recover well from the disturbance.
Signs Your Plant Needs Repotting:
- Roots are growing out of the drainage holes.
- The plant appears to be outgrowing its pot.
- Soil dries out quickly after watering.
- Stunted growth or yellowing leaves.
2. Select the Appropriate Pot
Choosing the right pot is important for your plant’s health. The new pot should be only slightly larger than the current one – typically 1-2 inches larger in diameter. Too large a pot can lead to waterlogging and root rot because the soil will retain too much moisture.
Pot Considerations:
- Material: Choose pots made from materials that suit your plant’s needs, such as terracotta for better aeration or plastic for moisture retention.
- Drainage: Ensure the pot has drainage holes to prevent water from sitting at the bottom and causing root rot.
3. Use High-Quality Potting Mix
The soil in which your plant lives is crucial for its health. Use a high-quality potting mix that is appropriate for your plant type. Avoid using garden soil, which can be too dense and may contain pests or diseases.
Soil Tips:
- General Mix: For most houseplants, a standard potting mix works well.
- Specialized Mixes: Cacti and succulents require a sandy, well-draining mix, while orchids need a mix with bark to provide good airflow.
4. Handle the Plant with Care
Repotting can be stressful for plants, so handle them gently to minimize damage.
Steps for Safe Handling:
- Water Before Repotting: Water the plant a day or two before repotting to make the roots easier to work with and reduce stress.
- Remove the Plant: Gently tap the pot to loosen the root ball. Carefully lift the plant, supporting the base and roots.
- Inspect the Roots: Check for healthy, white roots. Trim any brown or rotting roots with clean scissors or pruning shears.
- Loosen the Roots: If the roots are tightly bound, gently tease them apart to encourage new growth.
5. Proper Planting Technique
How you place your plant in its new pot can affect its ability to thrive.
Planting Steps:
- Add Soil: Place a layer of fresh potting mix at the bottom of the new pot.
- Position the Plant: Center the plant in the pot, ensuring the root ball is at the same depth as in the old pot.
- Fill with Soil: Add soil around the plant, pressing gently to eliminate air pockets. Be careful not to bury the stem too deeply.
- Water Thoroughly: After repotting, water the plant well to help settle the soil and reduce transplant shock.
